Restaurant websites with a coding agent
Updated September 25, 2026
This guide builds a small website with the restaurant menu, opening hours, directions and booking link. It runs on a dedicated cloud machine and opens at a public URL for review before customer use.
The steps cover the workflow available in Oyren today: a brief, coding-agent implementation and review against the restaurant content.
Capture limit: the screenshots show a seeded workspace, a sample board and the first step of the codespace launcher. No restaurant site was built for them. They show where each step happens, not a recorded build.
Before you start: gather the real content
Collect the menu with prices, the opening hours, the address and phone number, and the link you already use for bookings or orders. Put the menu in a plain text or Markdown file. A few photos help but are not required for a first version.
Free includes notes, projects, 1 GB of storage (100 MB searchable) and 2,500 credits once. Codespaces are billed by the hour while they run, and the agent's AI use is a separate cost unless you bring your own API keys. Check Pricing and plans and your credit balance before you launch.
1. Put the menu, hours and booking link on a board card
In your workspace, choose New project, name it after the restaurant and press Create. On the board, use Add a card and give it a title like "Site v1: home, menu, hours, booking link". Paste the brief into the card's description:
Build a small static restaurant website in this codespace.
Pages: home (name, one line about the place, hours), menu, contact
(address, phone as a tel: link, a link to the map).
Menu: read menu.md from the workspace files. Show every dish and
price exactly as written. Do not invent dishes.
Booking: every page shows a "Book a table" link to <booking URL>.
Serve the site on port 3000 and tell me the command you used.
Stop for review.
Use Upload in the file list to add menu.md and your photos, so the agent works from the dishes you serve rather than placeholder text.
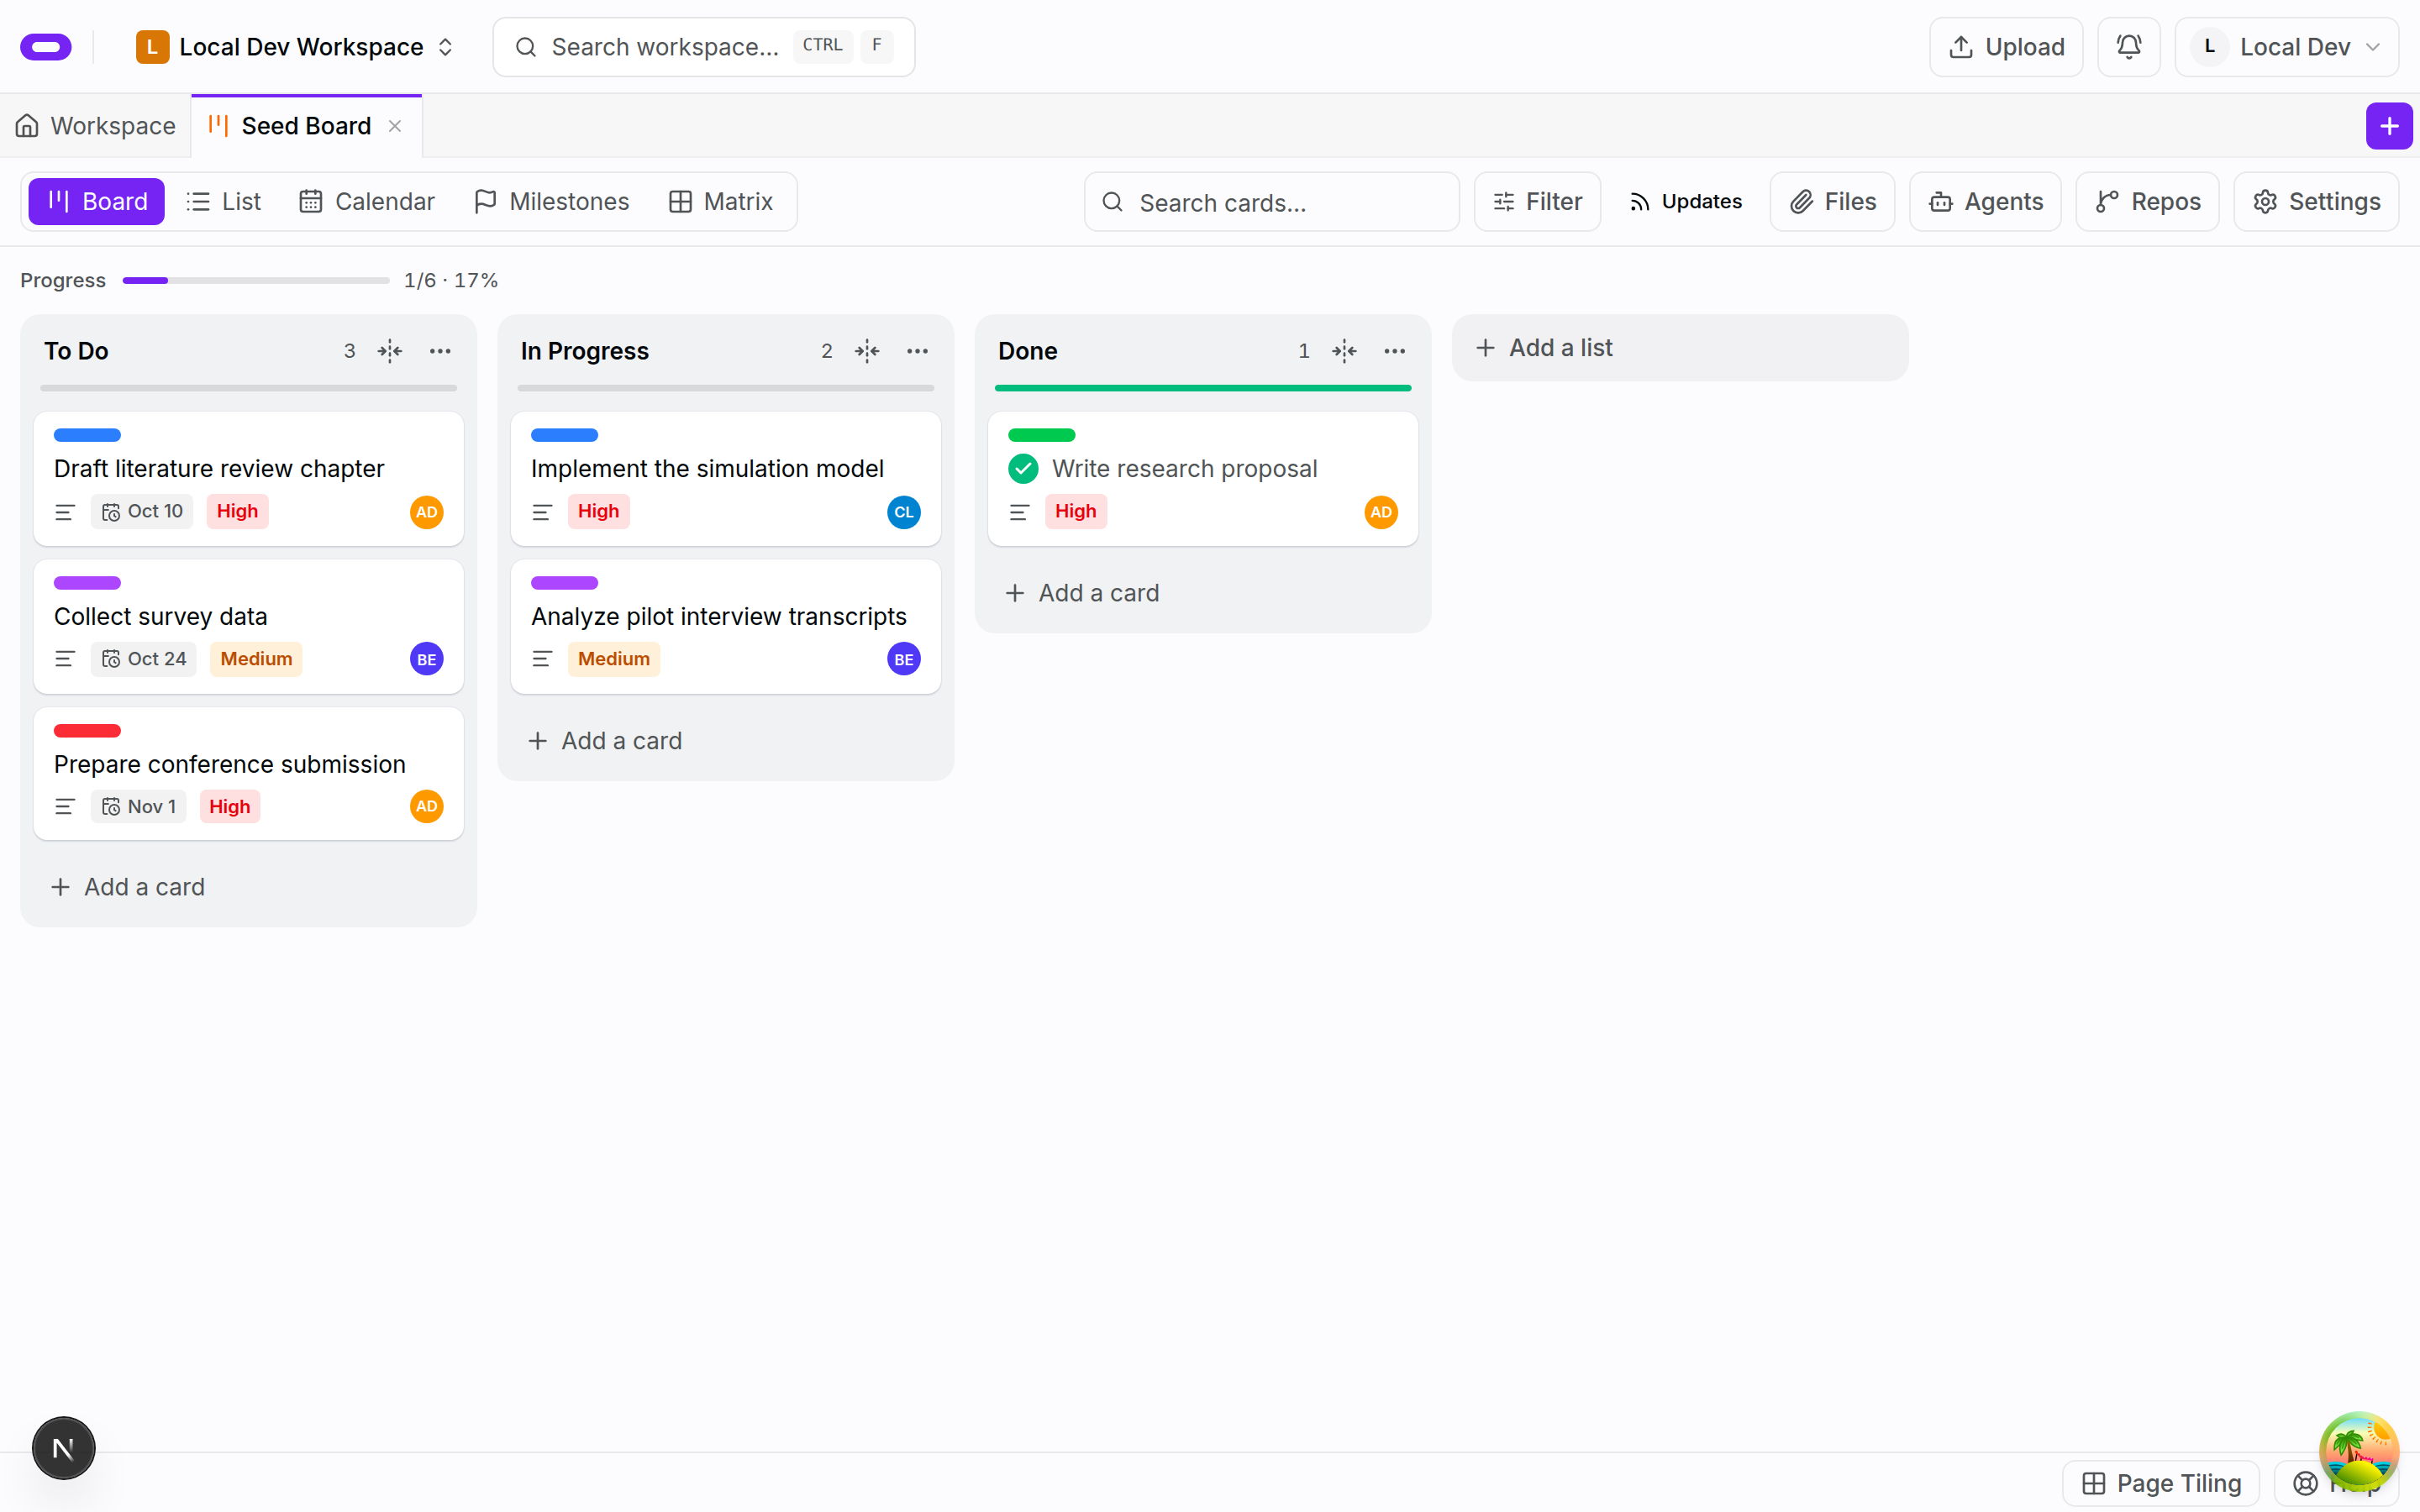
The board is where the card lives. The cards shown are seeded examples. No screenshot for this step yet: writing the restaurant brief on a card.
2. Launch a codespace and choose the agent
Choose Codespaces from the workspace launcher, or Launch Codespace from the Apps tab. The wizard opens on Choose an app. Keep Codespaces selected and skip Choose a repository (optional): a first restaurant site does not need a repository.
Under Choose your agent, pick Claude Code, Codex CLI, opencode, Cursor CLI, Qwen Code or Antigravity. You can install another agent on the machine later. In Authentication, log in to the agent there yourself or bring API keys. In Connect tools, attach your workspace under MCP tools so the agent can read the card and menu.md. Without it, the agent cannot see your workspace files.
Read the AI usage budget step, then pick a size and runtime under Choose your machine and runtime and read the quoted hourly cost. Paste the brief from the card into First prompt (optional) so the session opens in Chat with the task already sent.
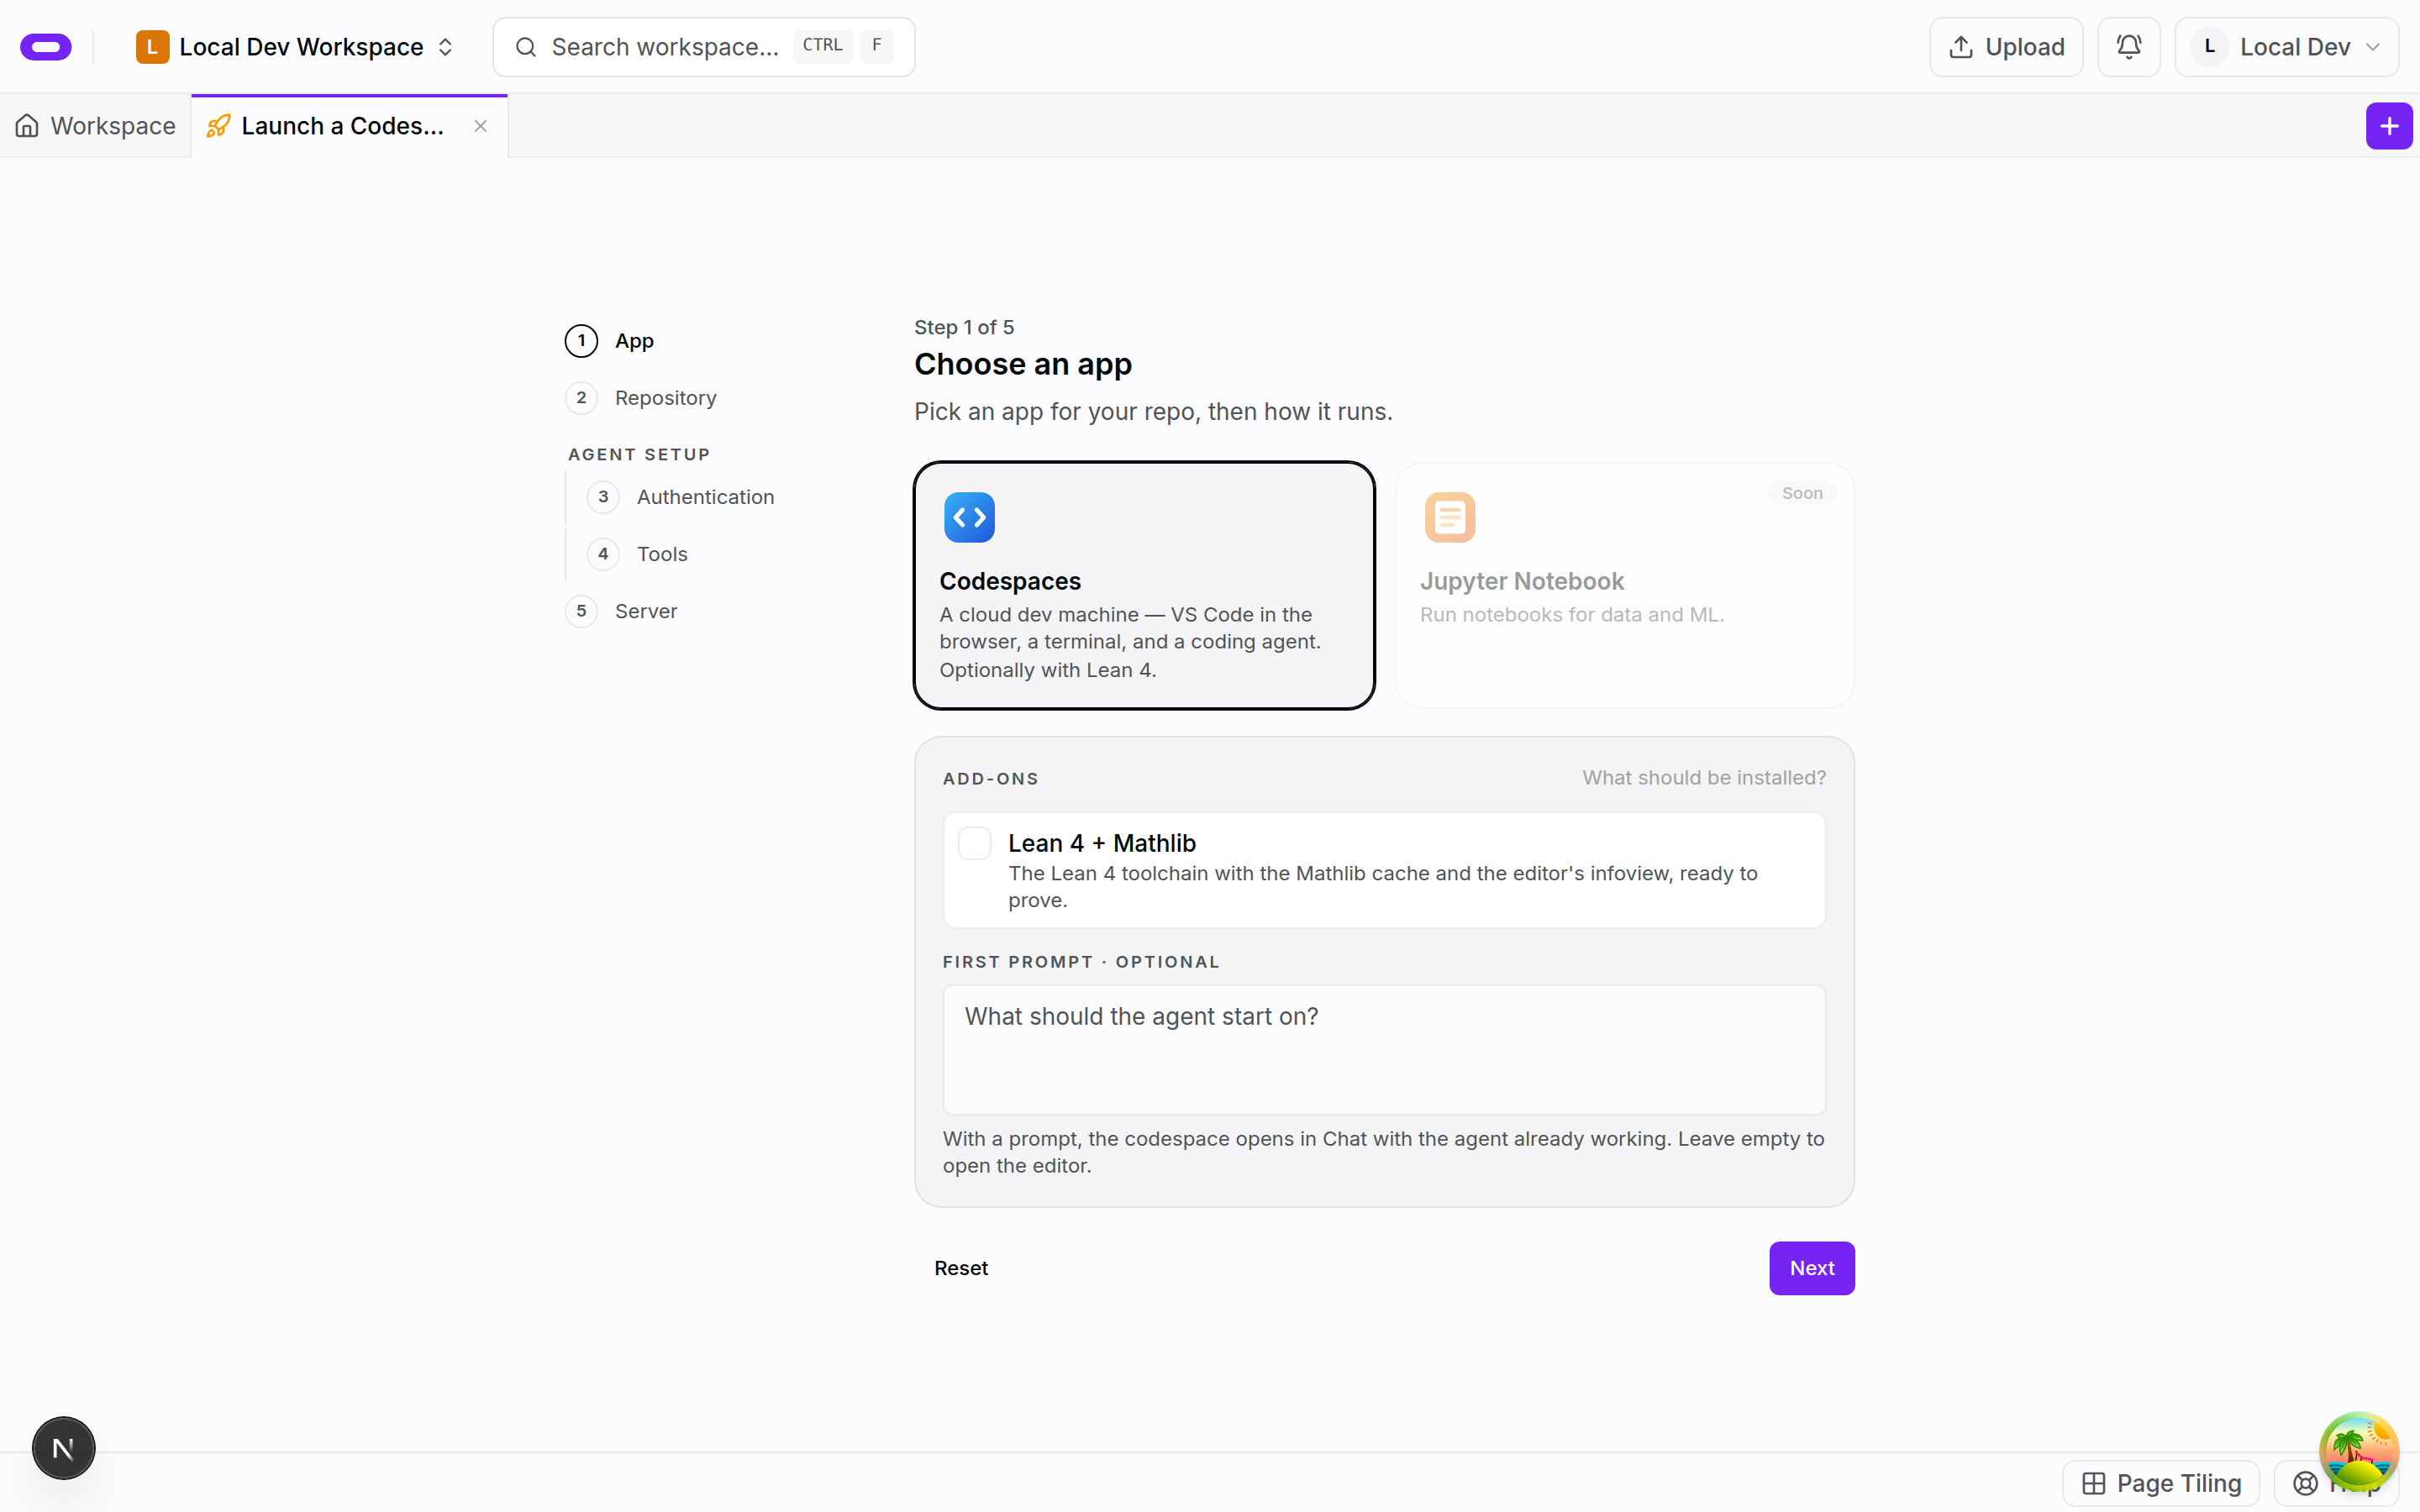
This is the first wizard step from a seeded workspace. No screenshot for the agent, authentication, tools and machine steps yet.
3. Review the first version page by page
The agent installs what it needs on the machine, for example a small static site tool or plain HTML files, and starts the site on port 3000. Read its reply, then open the files in VS Code in the browser or use Connect to terminal on the codespace card.
Check three things against your own material before asking for anything else. Every dish and price on the menu page matches menu.md. The hours and phone number on the home and contact pages are the ones you gave. The booking link points at your real booking or ordering page. If something is wrong, ask for that one correction and check again.
No screenshot for this step yet.
4. Open the site at its public URL
Every codespace has a public URL. In the session header, the button reads Not published until a route exists. Open it, set Route prefix to / and Port to 3000, and add the route. In the terminal the same thing is oyren route add / 3000. The button then reads Public site and the link beside it opens the site without a login. Anyone who has the link can open it. Keep secrets and API keys out of the project while the route exists. When you finish checking, remove the route with the Unpublish control in Public site or oyren route remove /, or stop the codespace, and add the route again when the site is ready to share.
Open that link on your phone as well as your laptop. Most restaurant visits start on a phone, so check that the menu reads without zooming, the phone number dials when tapped and the booking link opens. The URL serves the site while the codespace runs.
No screenshot for this step yet.
5. Snapshot, stop and plan the next card
When the first version looks right, choose Take snapshot from the codespace card menu before you choose Stop. The stop dialog says it plainly: the machine is deleted with its files unless you took a snapshot first. Runtime is billed by the hour while the codespace runs, and snapshot storage is billed monthly in credits.
Move the card to Done and add the next one: photos on the menu page, a daily specials section, or a second language. The card's Assign to agent menu lists the agents running in your workspace, so a later card can go to the same session once you restore the snapshot.
No screenshot for this step yet.
Read what a first restaurant site needs on the restaurant website page. For a smaller first run with an agent, start with Give a sandboxed agent its first task, and see connecting Oyren MCP servers for what the workspace tools give the agent.