Internal tools with a coding agent
Updated September 25, 2026
Most internal tools start as a spreadsheet maintained by one person. This guide turns one into a small web tool: a table of requests, a form to add one and a way to mark each request done. A coding agent writes it on a dedicated cloud machine. The public URL supports review before team use.
The example is a team request tracker. The same steps apply to other records, such as equipment loans, leads or support tickets.
Capture limit: the screenshots show a seeded workspace and a sample board. No request tracker was built for them. They show where each step happens, not a recorded build.
Before you start: export the data you already have
Export the spreadsheet as a CSV file. Note which columns matter and which one action people take most often: adding a row, or changing a status. Decide who will use the tool, because that shapes the access step below.
Free includes notes, projects, 1 GB of storage (100 MB searchable) and 2,500 credits once. Codespaces are billed by the hour while they run, and the agent's AI use is a separate cost unless you bring your own API keys. Check Pricing and plans before you launch.
1. Upload the CSV and write the card
Use Upload in the workspace file list to add requests.csv. Then choose New project, name it after the tool and press Create. On the board, choose Add a card and paste the brief into its description:
Build a small internal request tracker in this codespace.
Data: import requests.csv from the workspace files into a SQLite
database. Keep every column as it is named in the file.
Views: one table of all requests, newest first, with a filter on
the status column. One form to add a request with the same fields.
Action: a button on each row that sets status to "done".
Export: a button that downloads the current table as CSV.
Serve it on port 3000 and tell me the command you used. Stop for review.
Naming the file, the columns and the one action keeps the first version small enough to check line by line.
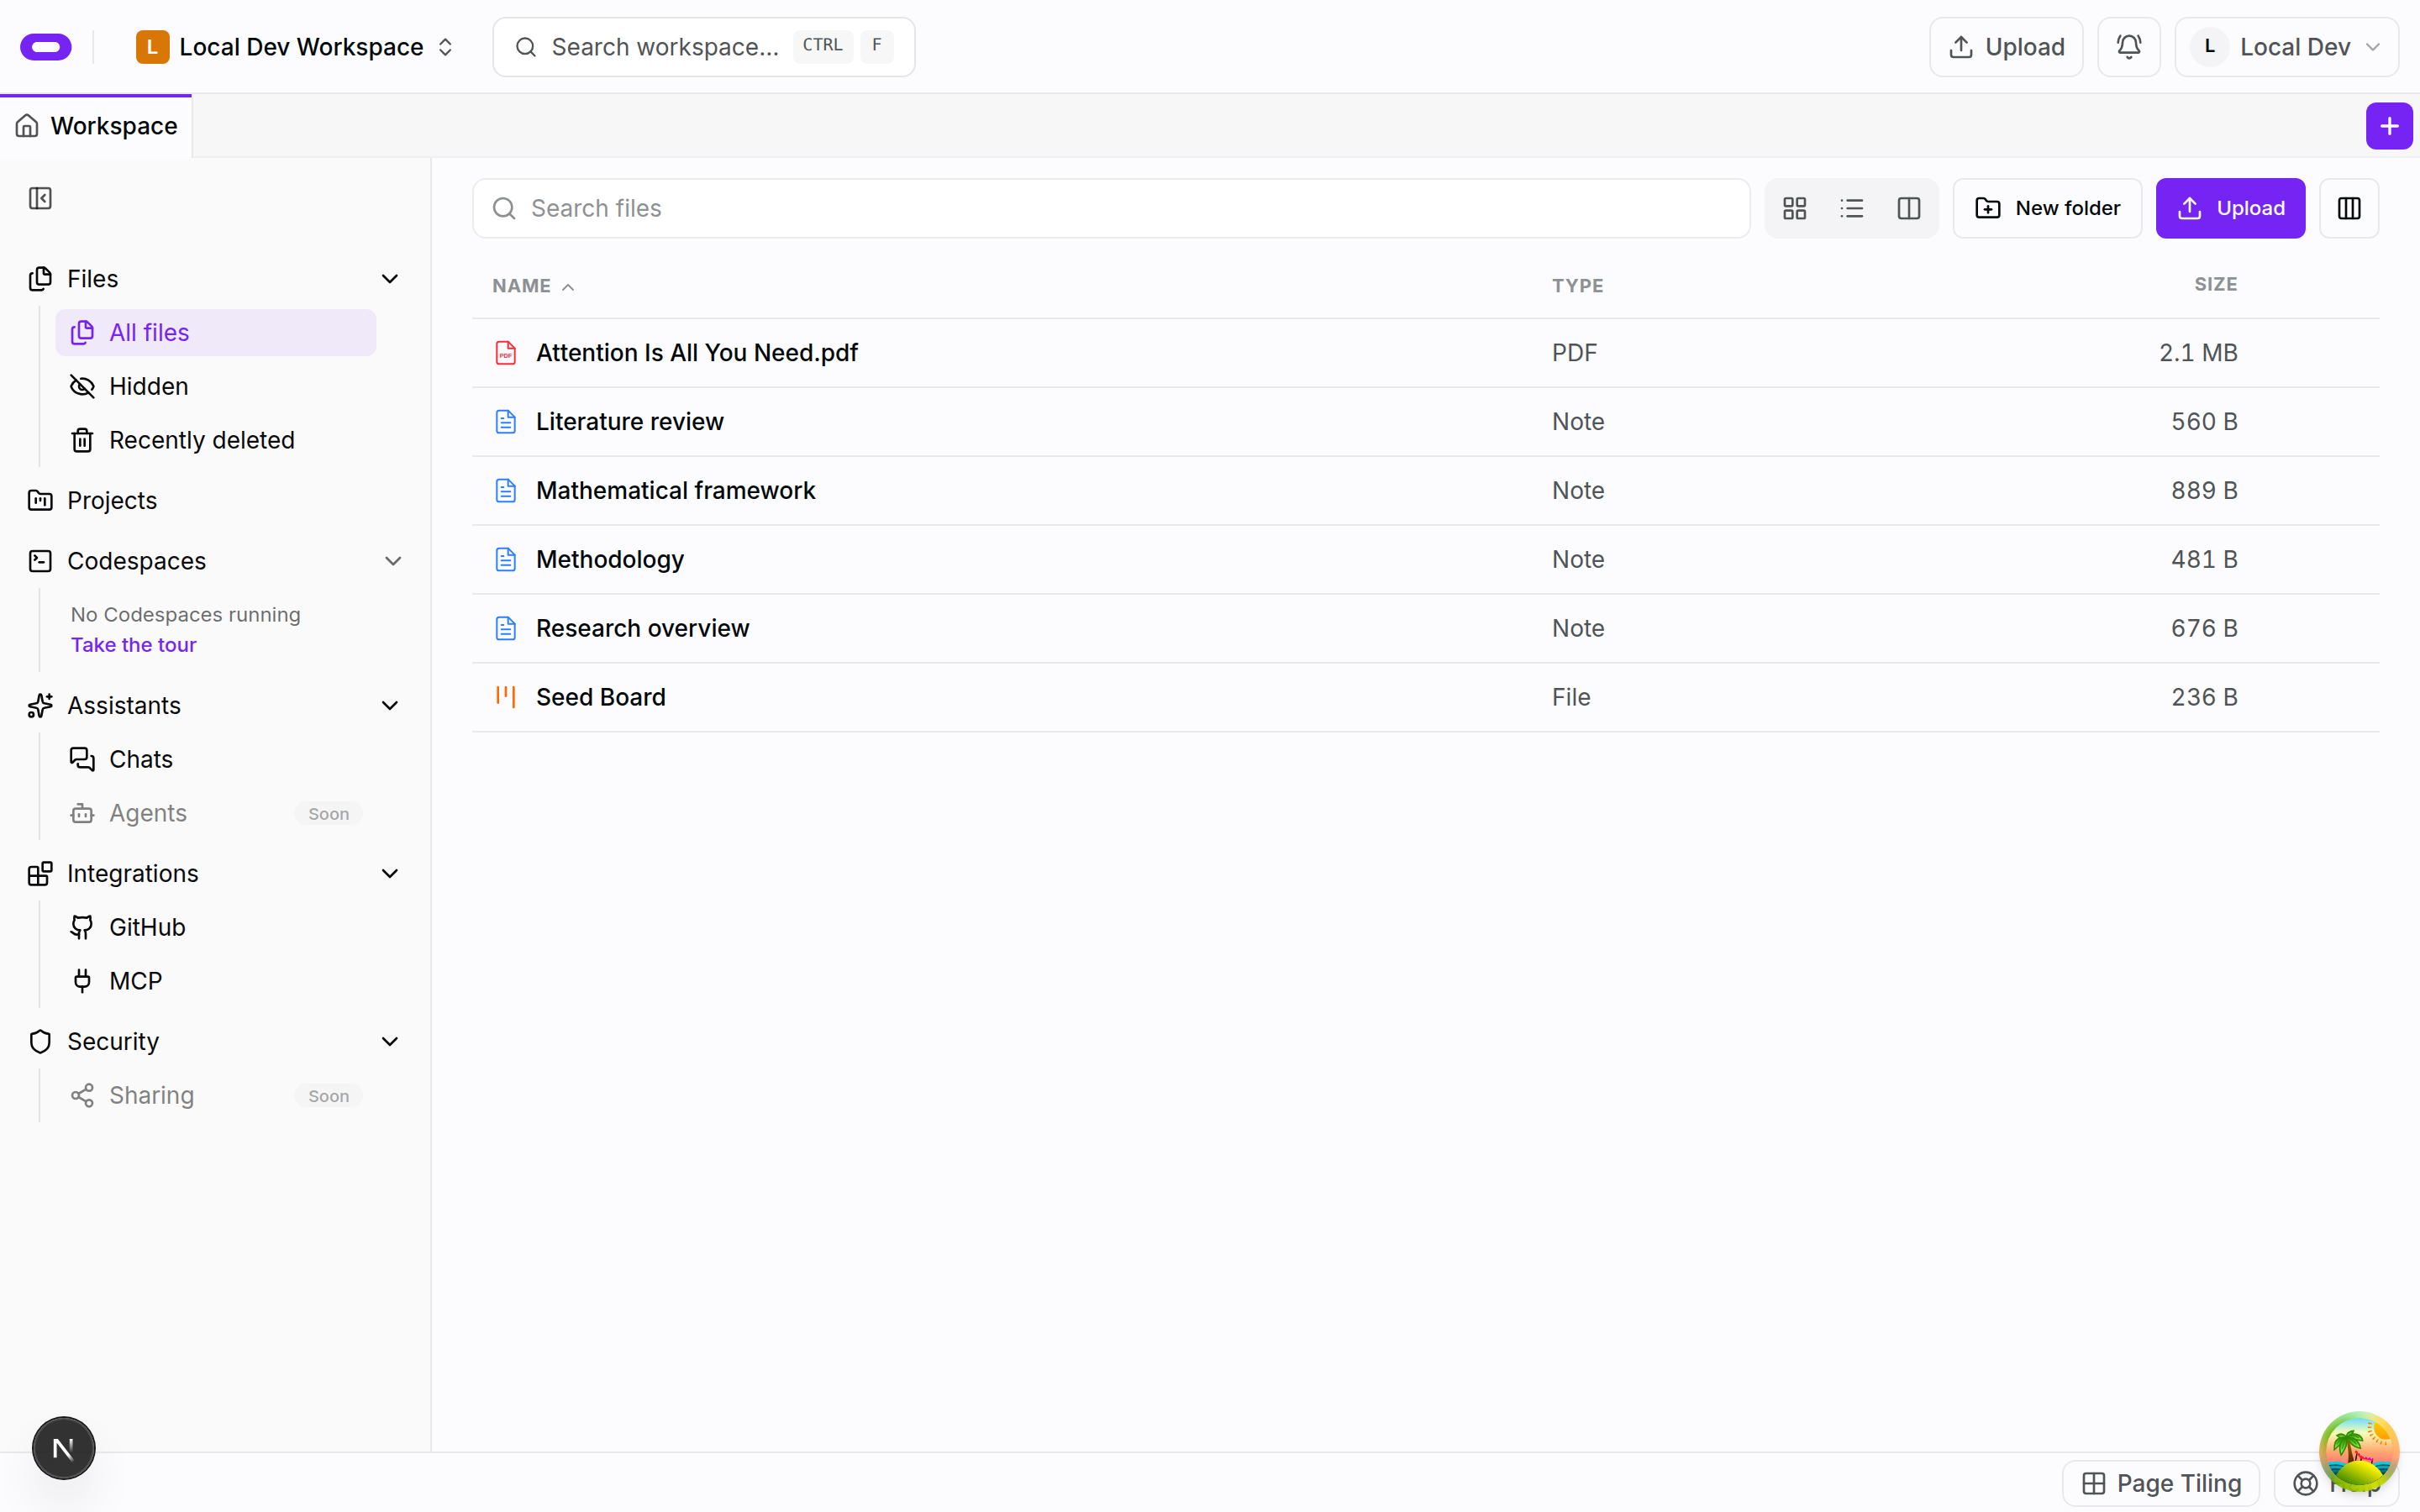
The file list is where the CSV goes. This capture shows seeded files, not a CSV upload.
2. Launch a codespace and attach the workspace tools
Choose Codespaces from the workspace launcher. On Choose an app, keep Codespaces selected. On Choose a repository (optional), pick a repository if your team already keeps tools in one, so the agent works there. Otherwise skip it.
On Choose your agent, pick Claude Code, Codex CLI, opencode, Cursor CLI or Qwen Code. Antigravity is not in that list: install it yourself and run it from the terminal. On Authentication, log in to the agent there yourself or bring API keys. On Connect tools, attach your workspace under MCP tools. This is the step that lets the agent read requests.csv and the card. Read the AI usage budget step, pick a size and runtime on Choose your machine and runtime, and paste the brief into First prompt (optional).
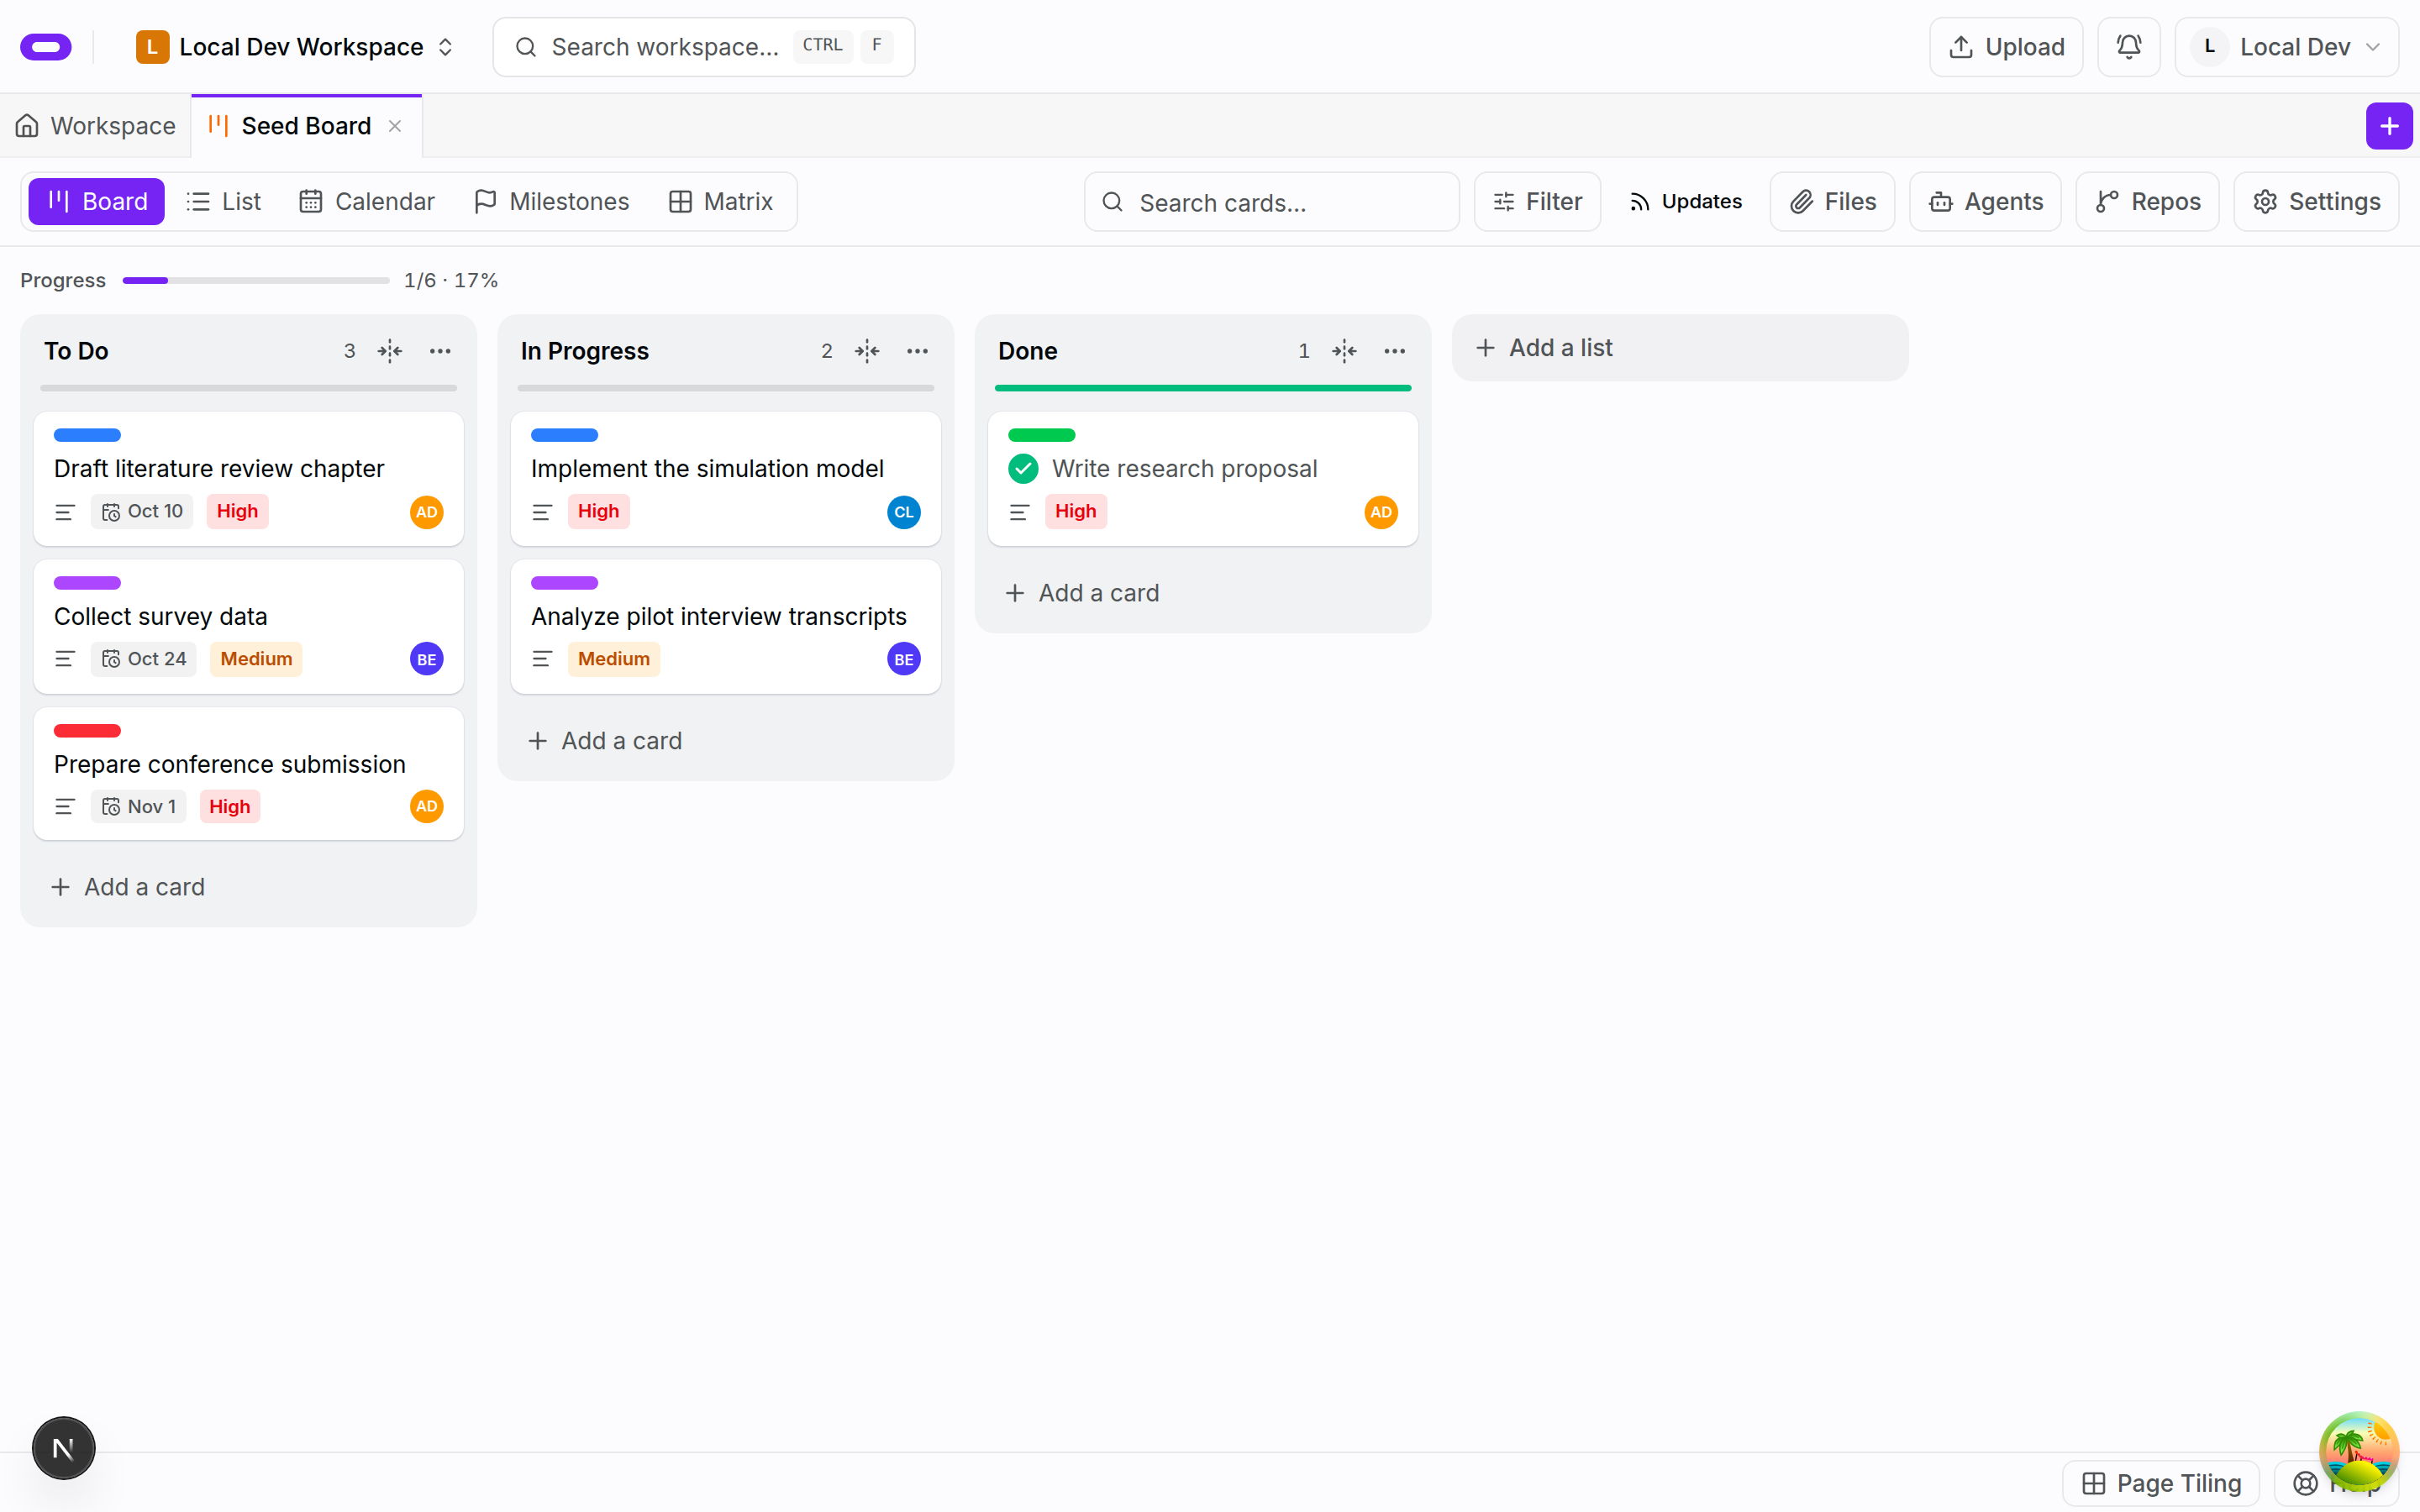
The card stays on the board while the agent works. The cards shown are seeded examples.
3. Check the data before the screens
When the agent reports back, check the import first. Ask it to print the number of rows in the database and compare that with the number of rows in your CSV. Then open the table view and look up three records you know well. If a column is missing or a date is formatted differently from the source, ask for that one fix.
Then try the form: add a request, confirm it appears at the top of the table, mark it done, and download the CSV export to see that the new row is in it. Open the files in VS Code in the browser or use Connect to terminal when you want to read the code yourself.
No screenshot for this step yet.
4. Decide who may see the data, then open the public URL
Every codespace has a public URL, and whatever is routed at / opens for anyone who has the link, with no login. The link is not an access control, and that includes the CSV export route. So decide first. If this team's data is not something you would hand to a stranger, ask the agent to add a password step to the app (covering the export route too), test that the table and the export are both hidden without it, and send the link only to the people who need it.
With that decided, open Not published in the session header, set Route prefix to / and Port to 3000, and add the route. The button changes to Public site and the link beside it opens the tool. In the terminal the same command is oyren route add / 3000. Then have one colleague add a request from their phone and confirm it shows up for you.
Keep secrets and API keys out of the project while the route exists. When you finish testing, remove the route with the Unpublish control in Public site or oyren route remove /, or stop the codespace.
No screenshot for this step yet.
5. Keep the data safe when you stop
The database lives on the codespace. Choosing Stop deletes the machine with its files, so choose Take snapshot first, and download a CSV export as a second copy. Runtime is billed by the hour while the codespace runs, and snapshot storage is billed monthly in credits.
Add the next cards on the board: an edit form, a second status, a per-person view. Restore the snapshot when you come back, and use the card's Assign to agent menu to hand a card to the agent running in your workspace.
No screenshot for this step yet.
For what to put in scope before you write the card, read the internal tool page. If this is your first codespace, run Give a sandboxed agent its first task first. The workspace tools the agent uses are described in connecting Oyren MCP servers.