iPhone and iPad apps with React Native and a coding agent
Updated September 25, 2026
This guide builds the first two screens of an iPhone and iPad app in React Native: a list and a detail view, with one action that saves something on the device. A coding agent writes the code on a dedicated Linux machine. Browser review takes place at the Codespace's public URL, with phone and then iPad viewport sizes.
This workflow does not run Xcode, the iOS Simulator or a physical device, and it does not publish to the App Store. The result is a React Native project reviewed screen by screen before the native build steps performed elsewhere.
Capture limit: the screenshots show a seeded workspace, a sample board and the first step of the codespace launcher. No React Native app was built for them. They show where each step happens, not a recorded build.
Before you start: two screens and one decision
Pick the two screens that make the app useful on day one, for example a list of saved places and a detail view for one place. Decide where the data lives. For a first version, keep it on the device, so the app needs no backend. Write both decisions down; they become the brief.
Free includes notes, projects, 1 GB of storage (100 MB searchable) and 2,500 credits once. Codespaces are billed by the hour while they run, and the agent's AI use is a separate cost unless you bring your own API keys. Check Pricing and plans before you launch.
1. Write the card
Choose New project, name it after the app and press Create. Choose Add a card on the board and paste the brief into its description:
Create a React Native app with Expo in this codespace
(npx create-expo-app@latest, TypeScript).
Screens: 1) Places: a list of saved places with a name and a note,
and an Add button. 2) Place: the detail view for one place, with
Edit and Delete. Navigation between the two.
Data: stored on the device only. No backend, no sign-in.
iPad: the list and the detail view sit side by side when the
window is wider than 768 px.
Start the web preview with npx expo start --web and tell me the port.
Stop for review.
Naming the screens, the storage decision and the iPad layout on the card gives you one thing to check per screen later.
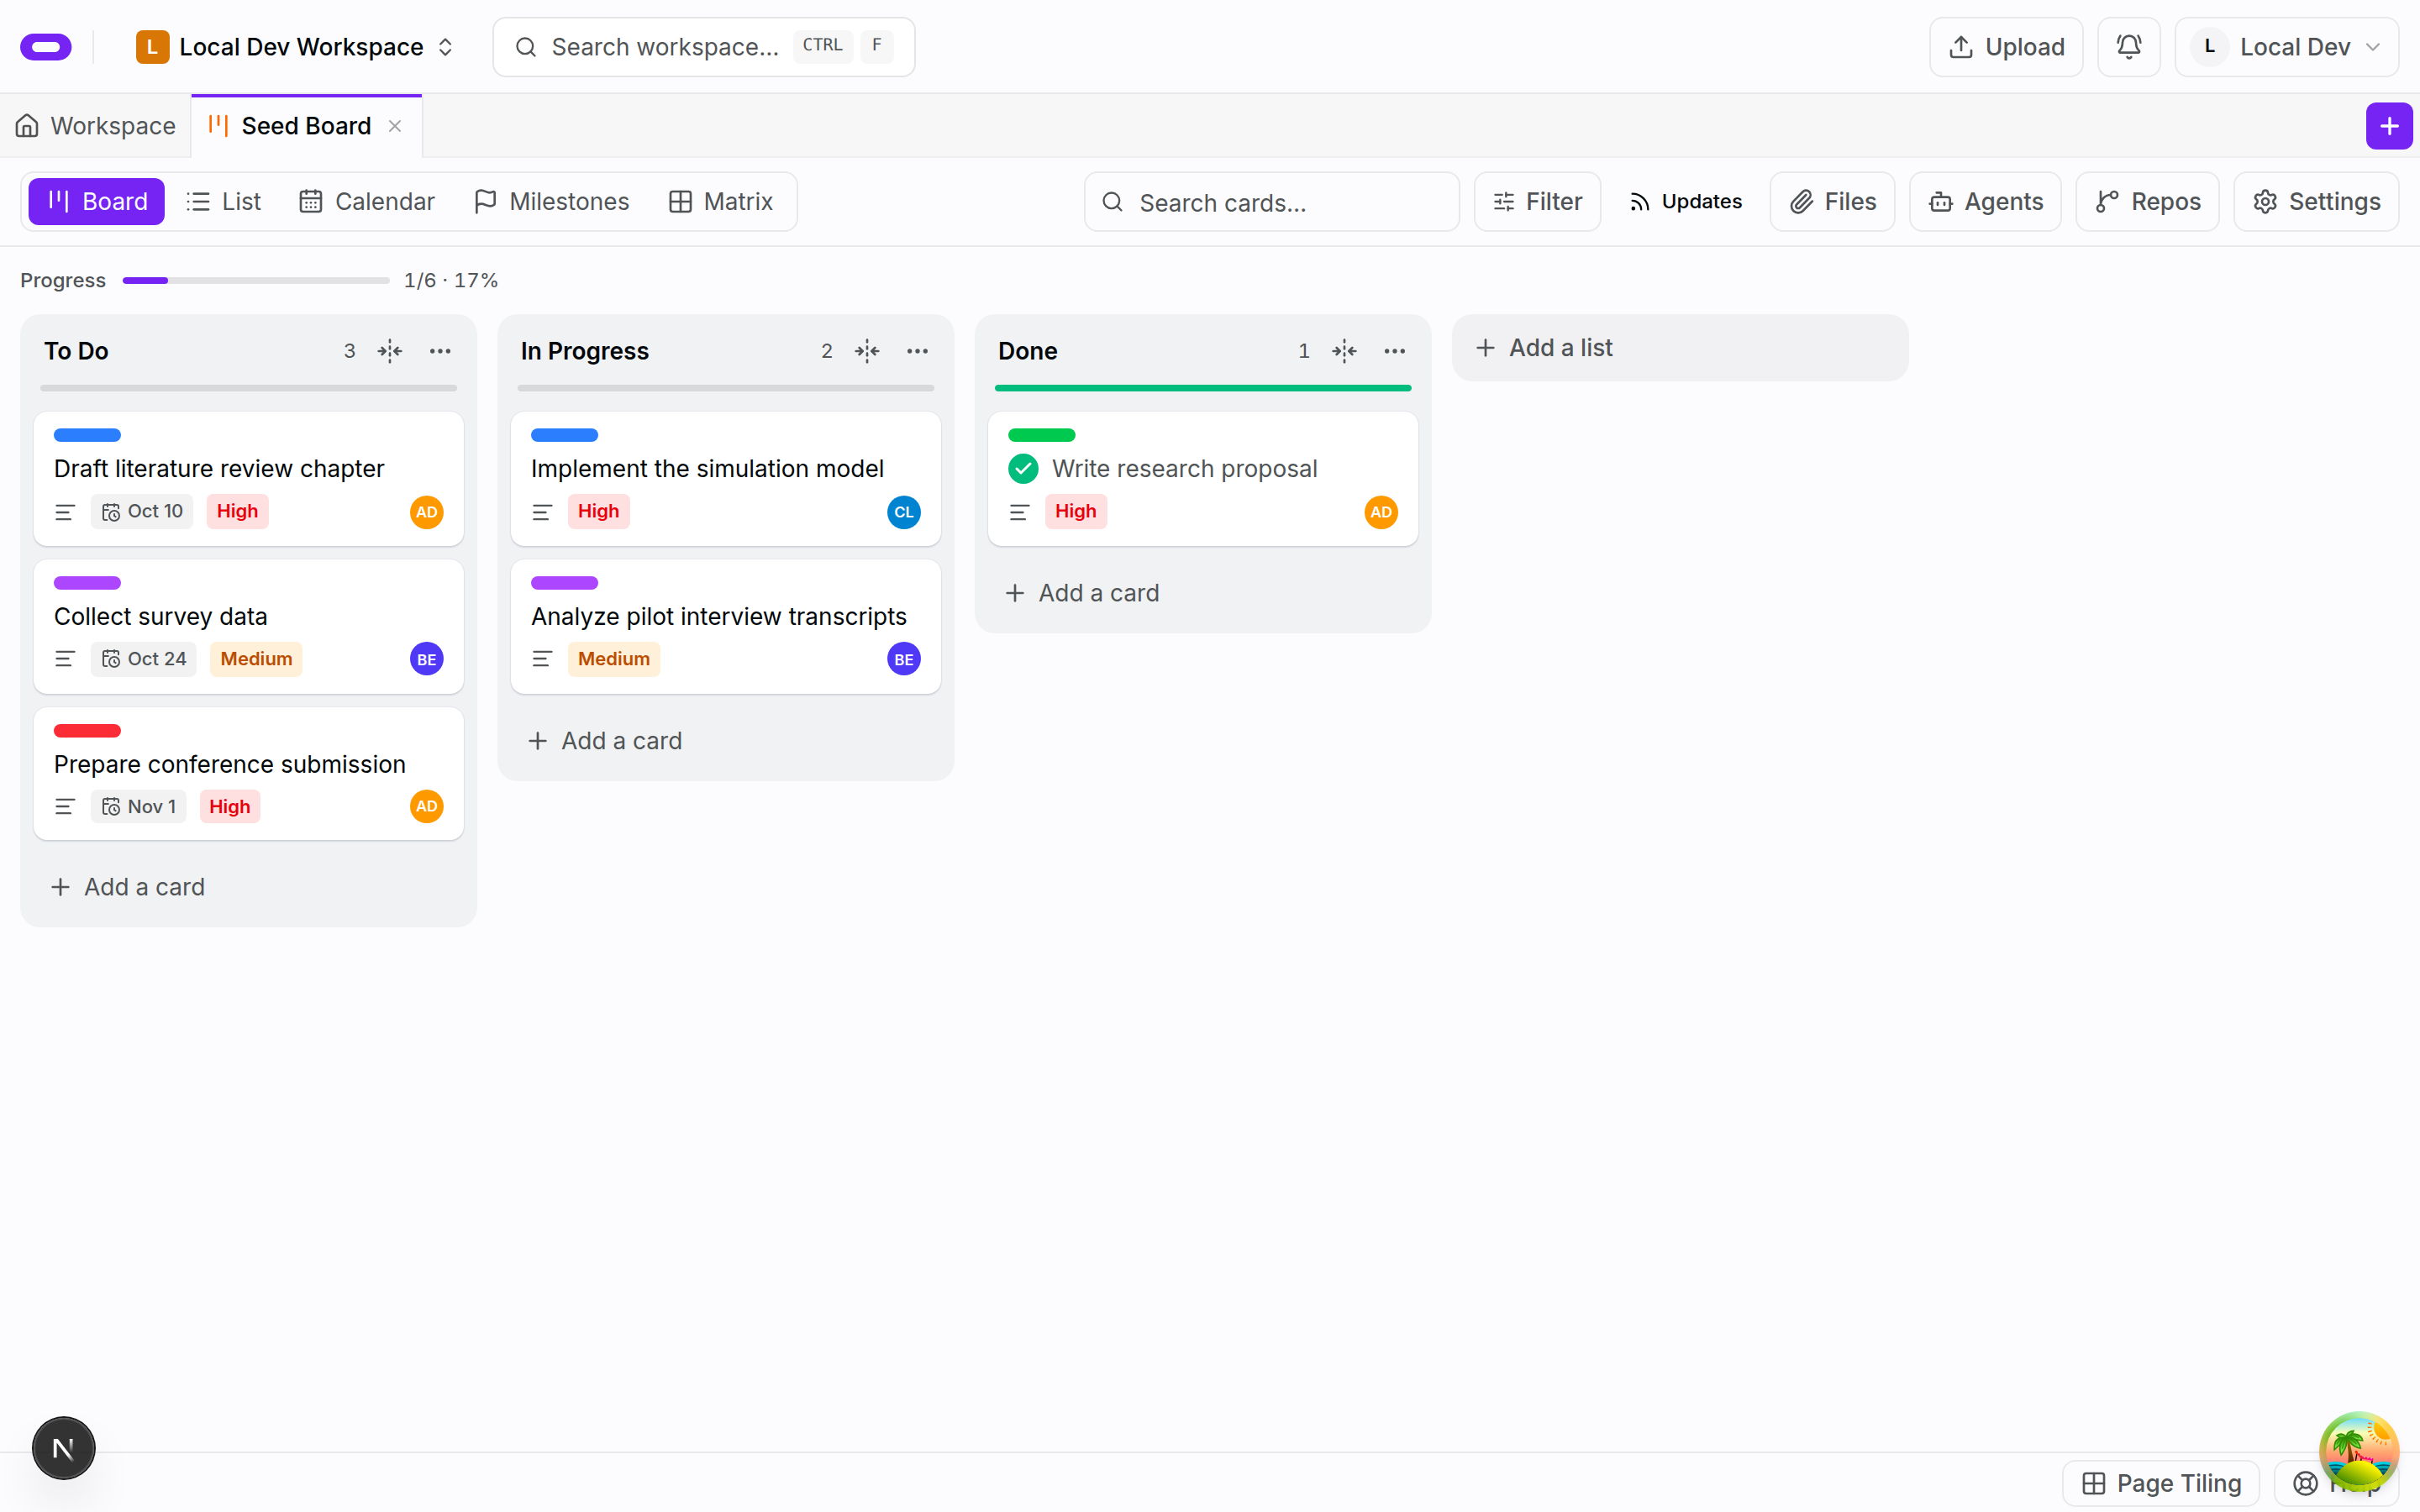
The board holds the brief. The cards shown are seeded examples.
2. Launch a codespace and choose the agent
Choose Codespaces from the workspace launcher. Keep Codespaces on Choose an app. On Choose a repository (optional), pick a repository if you want the app committed there from the start, otherwise skip it. On Choose your agent, pick Claude Code, Codex CLI, opencode, Cursor CLI, Qwen Code or Antigravity, and on Authentication log in to it there yourself or bring API keys.
On Connect tools, attach your workspace under MCP tools so the agent can read the card. Read AI usage budget, pick a size and runtime on Choose your machine and runtime, and paste the brief into First prompt (optional). The agent installs Node and the Expo tooling on the machine itself; you do not set anything up.
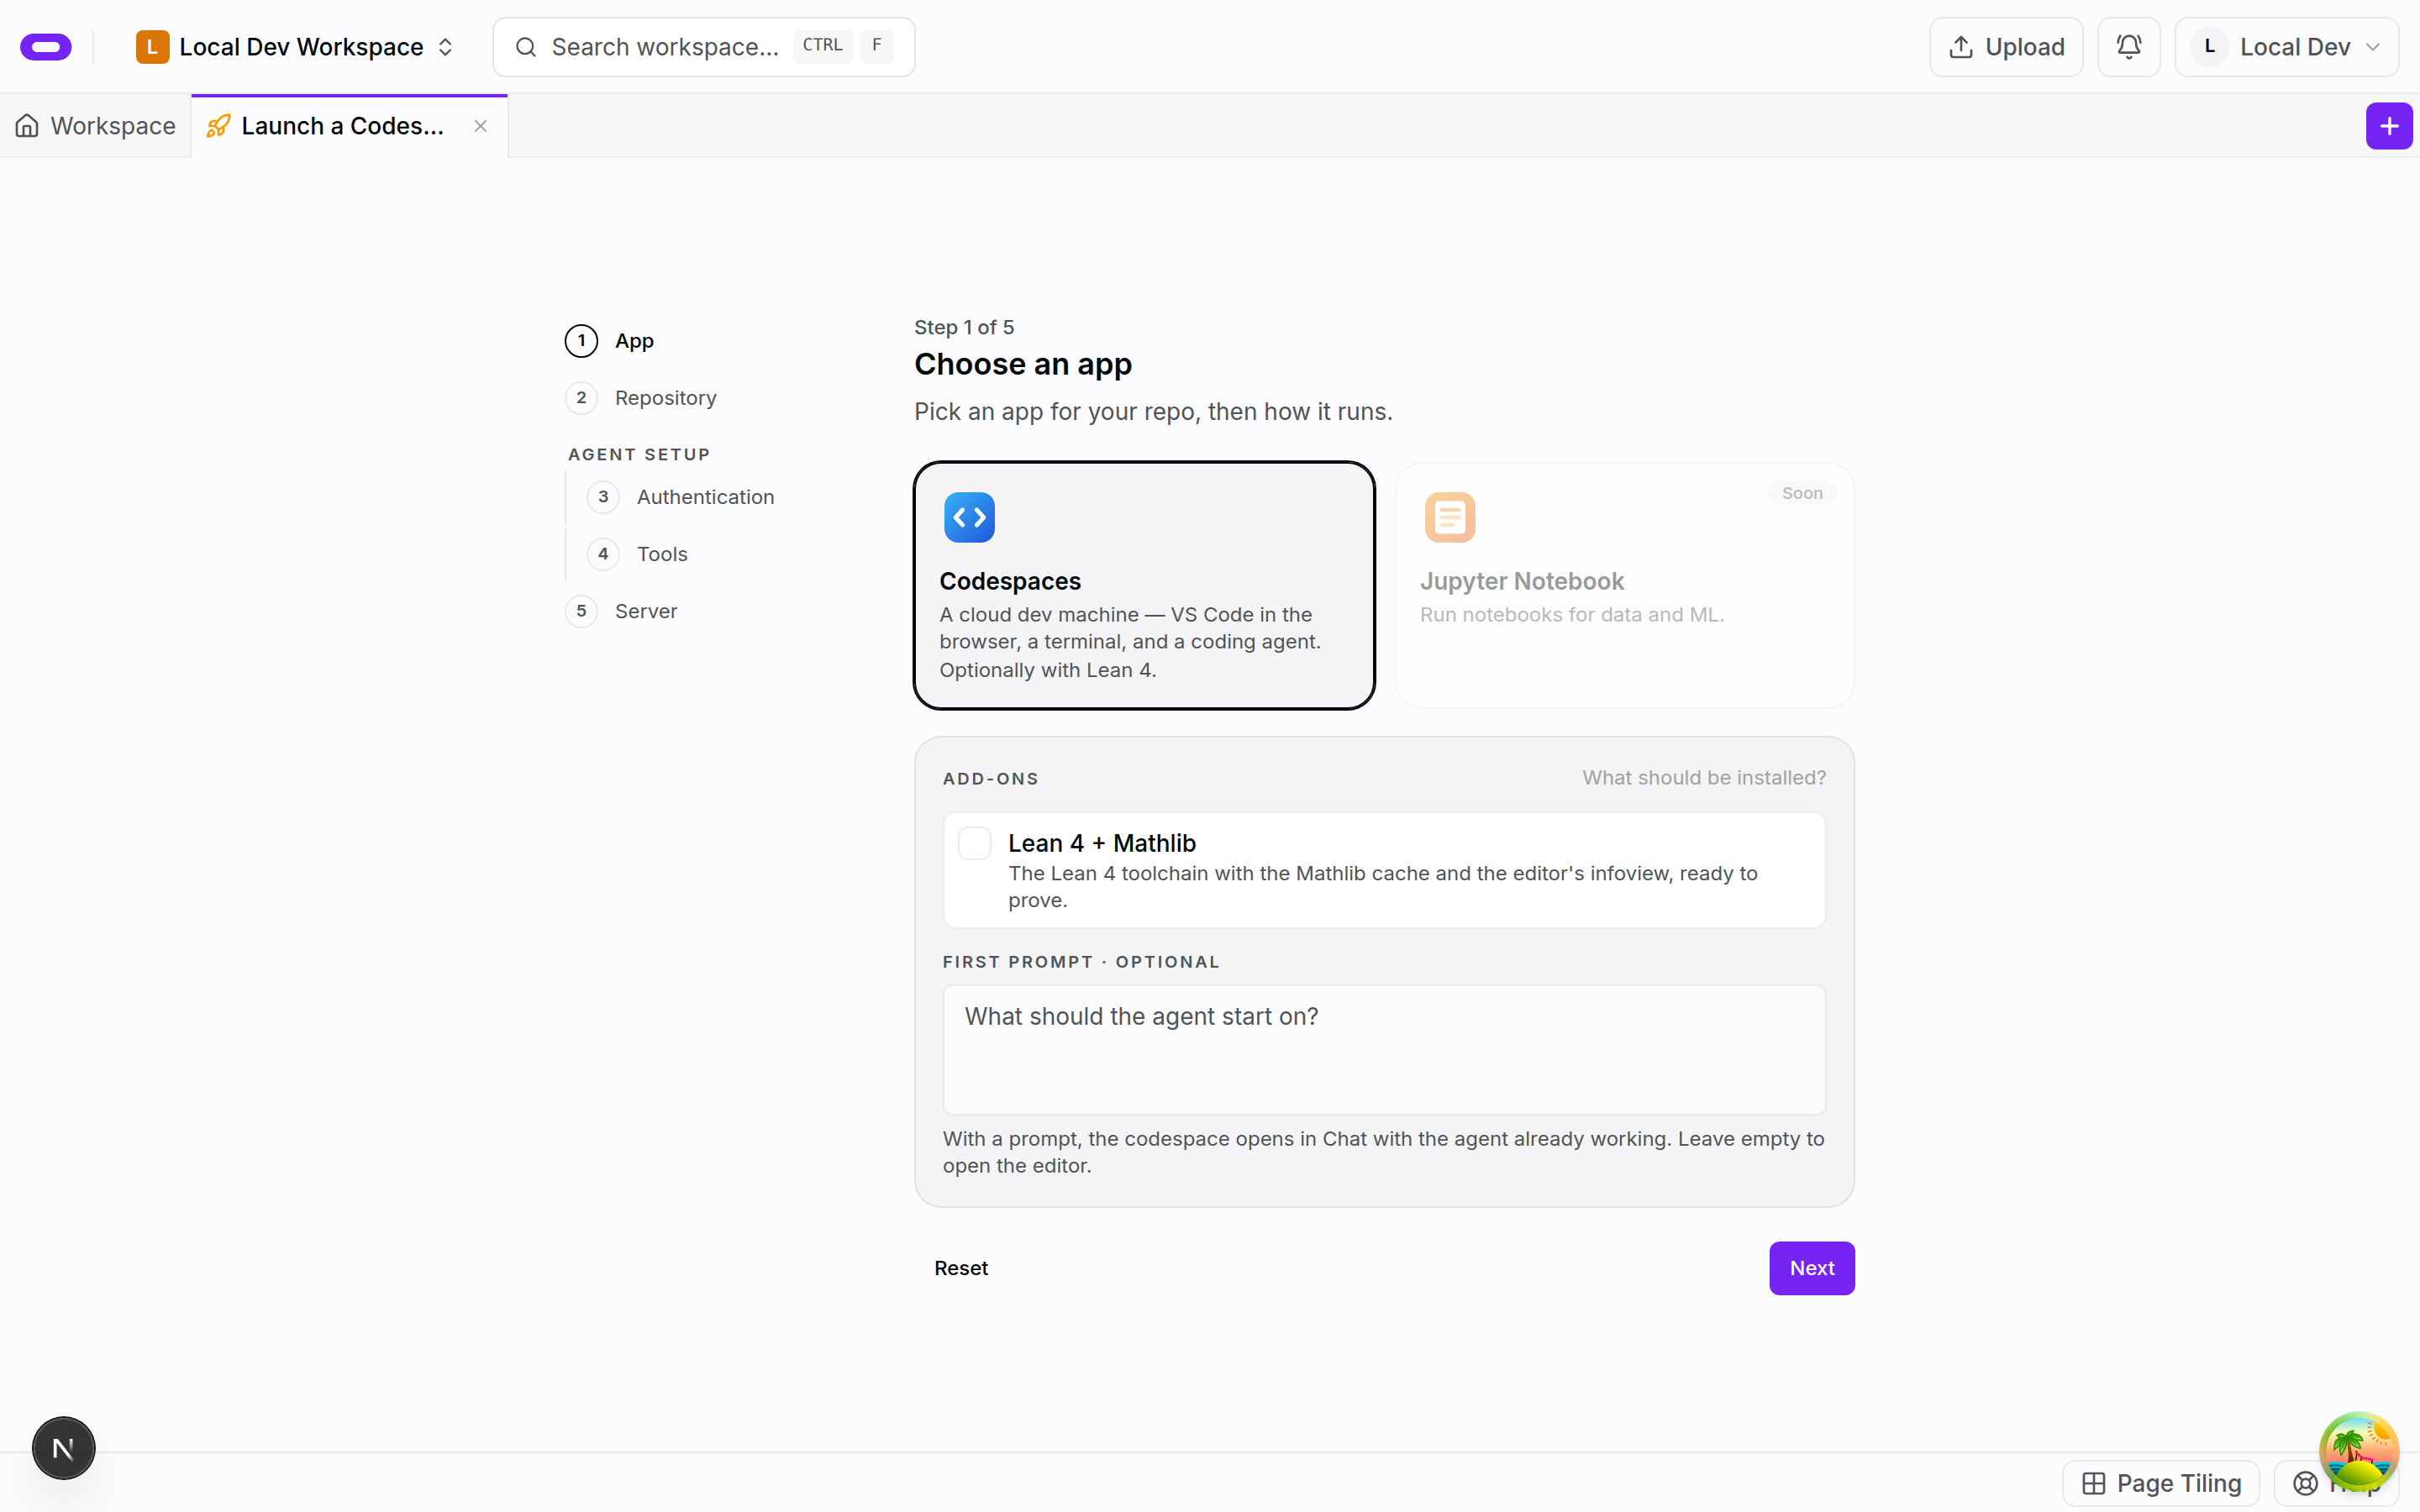
The first wizard step from a seeded workspace. No screenshot for the agent, tools and machine steps yet.
3. Open the web preview at the public URL
Expo can run the same React Native code in a browser. When the agent reports that the web preview is running, note the port it printed. In the session header, open Not published, set Route prefix to / and Port to that number, and add the route. The button changes to Public site; the link beside it opens the app. In the terminal the same command is oyren route add / <port>.
This is a development server, and the public URL opens it for anyone who has the link, with no login. Keep secrets and API keys out of the project while the route exists, and put nothing in it you would not show a stranger. When you finish testing, remove the route with the Unpublish control in Public site or oyren route remove /, or stop the codespace.
Open the link in a browser window narrowed to a phone width. Add a place, open it, edit it, delete it. Reload the page and confirm the places you kept are still there, which is the device-storage decision working. Then widen the window past an iPad width and check that the list and the detail view sit side by side as the card asked.
No screenshot for this step yet.
4. Read the screens against the card
Open the project in VS Code in the browser or through Connect to terminal. Read the two screen files and the navigation file against the card: the fields on the list, the buttons on the detail view, the storage code. Ask for one correction at a time and check it in the web preview again. The bundler output in the terminal tells you when a change has been rebuilt.
Anything the browser cannot show, such as how the app feels on a real phone, stays unchecked here. Expo's documentation describes a tunnel mode and the Expo Go app for opening a development server from a phone; check those docs before you rely on them from a codespace. They are outside this guide.
No screenshot for this step yet.
5. Snapshot, stop and add the next screen
Choose Take snapshot from the codespace card menu before Stop, since stopping deletes the machine with the project on it. Push the project to a repository as well if you skipped that step earlier. Runtime is billed by the hour while the codespace runs, and snapshot storage is billed monthly in credits.
Each new screen is a new card: search in the list, a photo on the detail view, sharing a place. Restore the snapshot, and use the card's Assign to agent menu to hand it to the agent running in your workspace.
No screenshot for this step yet.
Read what to decide before the first card on the iPhone and iPad app page. If this is your first codespace, run Give a sandboxed agent its first task first. Expo commands in this guide (create-expo-app, expo start --web) were read from Expo's documentation on 2026-09-25.