PDF conversion to notes and board tasks
Updated September 24, 2026
One PDF and one question provide the source for an editable note and a board task that records the next action.
The screenshots show a seeded workspace. The PDF, note and board were prepared separately. They identify the working surfaces and do not record conversion from this PDF to this note.
Before you start: what Free permits
Free includes 1 GB of storage (100 MB searchable), the note editor and calculator, projects, and MCP servers for files and boards. It includes 2,500 credits once, not every month. Uploading your PDF must fit within your remaining storage.
PDF-to-note OCR is available on Free but costs credits per page. Check the current rate on Pricing and plans, your remaining credits, and the conversion estimate before confirming. The included credit grant is not a promise that every PDF will fit. Writing or editing your own note and recording a board task do not require an AI run.
1. Upload and open one PDF
In your workspace file list, use Upload to select your PDF. Wait for it to appear, then open it. Check that you have the right document before converting anything.
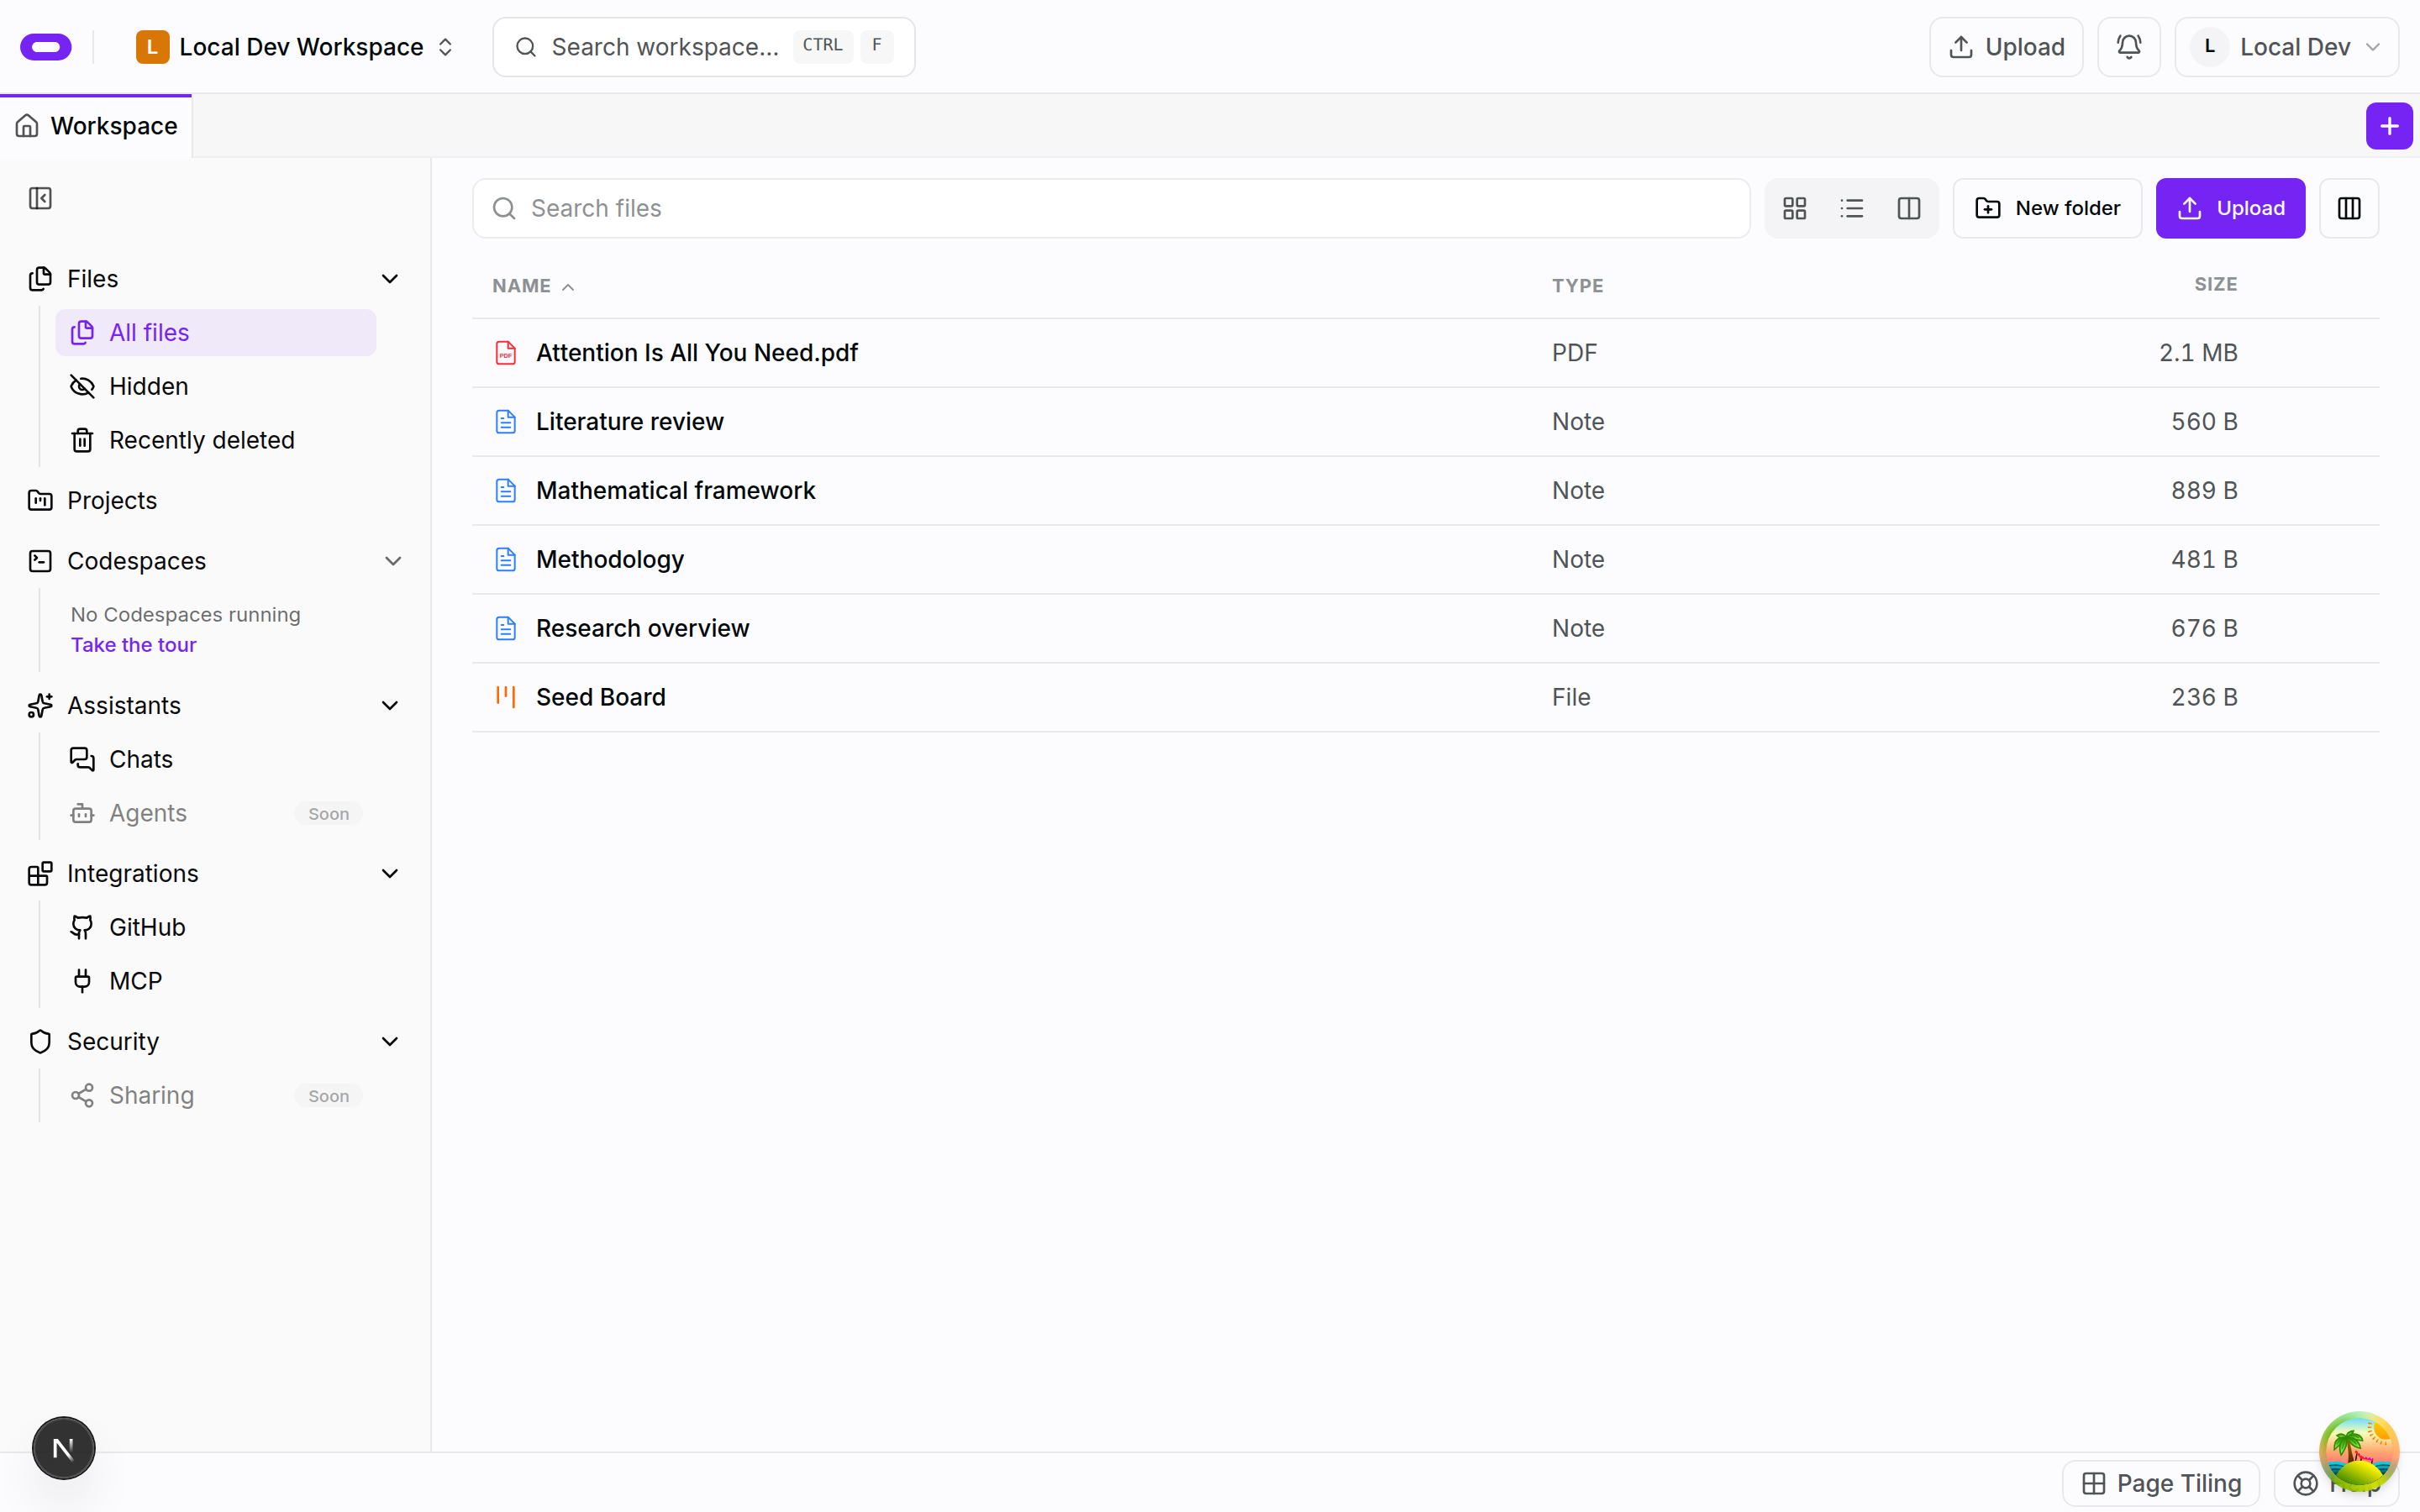
The file list shows an already uploaded sample. No screenshot for this step yet: selecting a file and completing the upload.
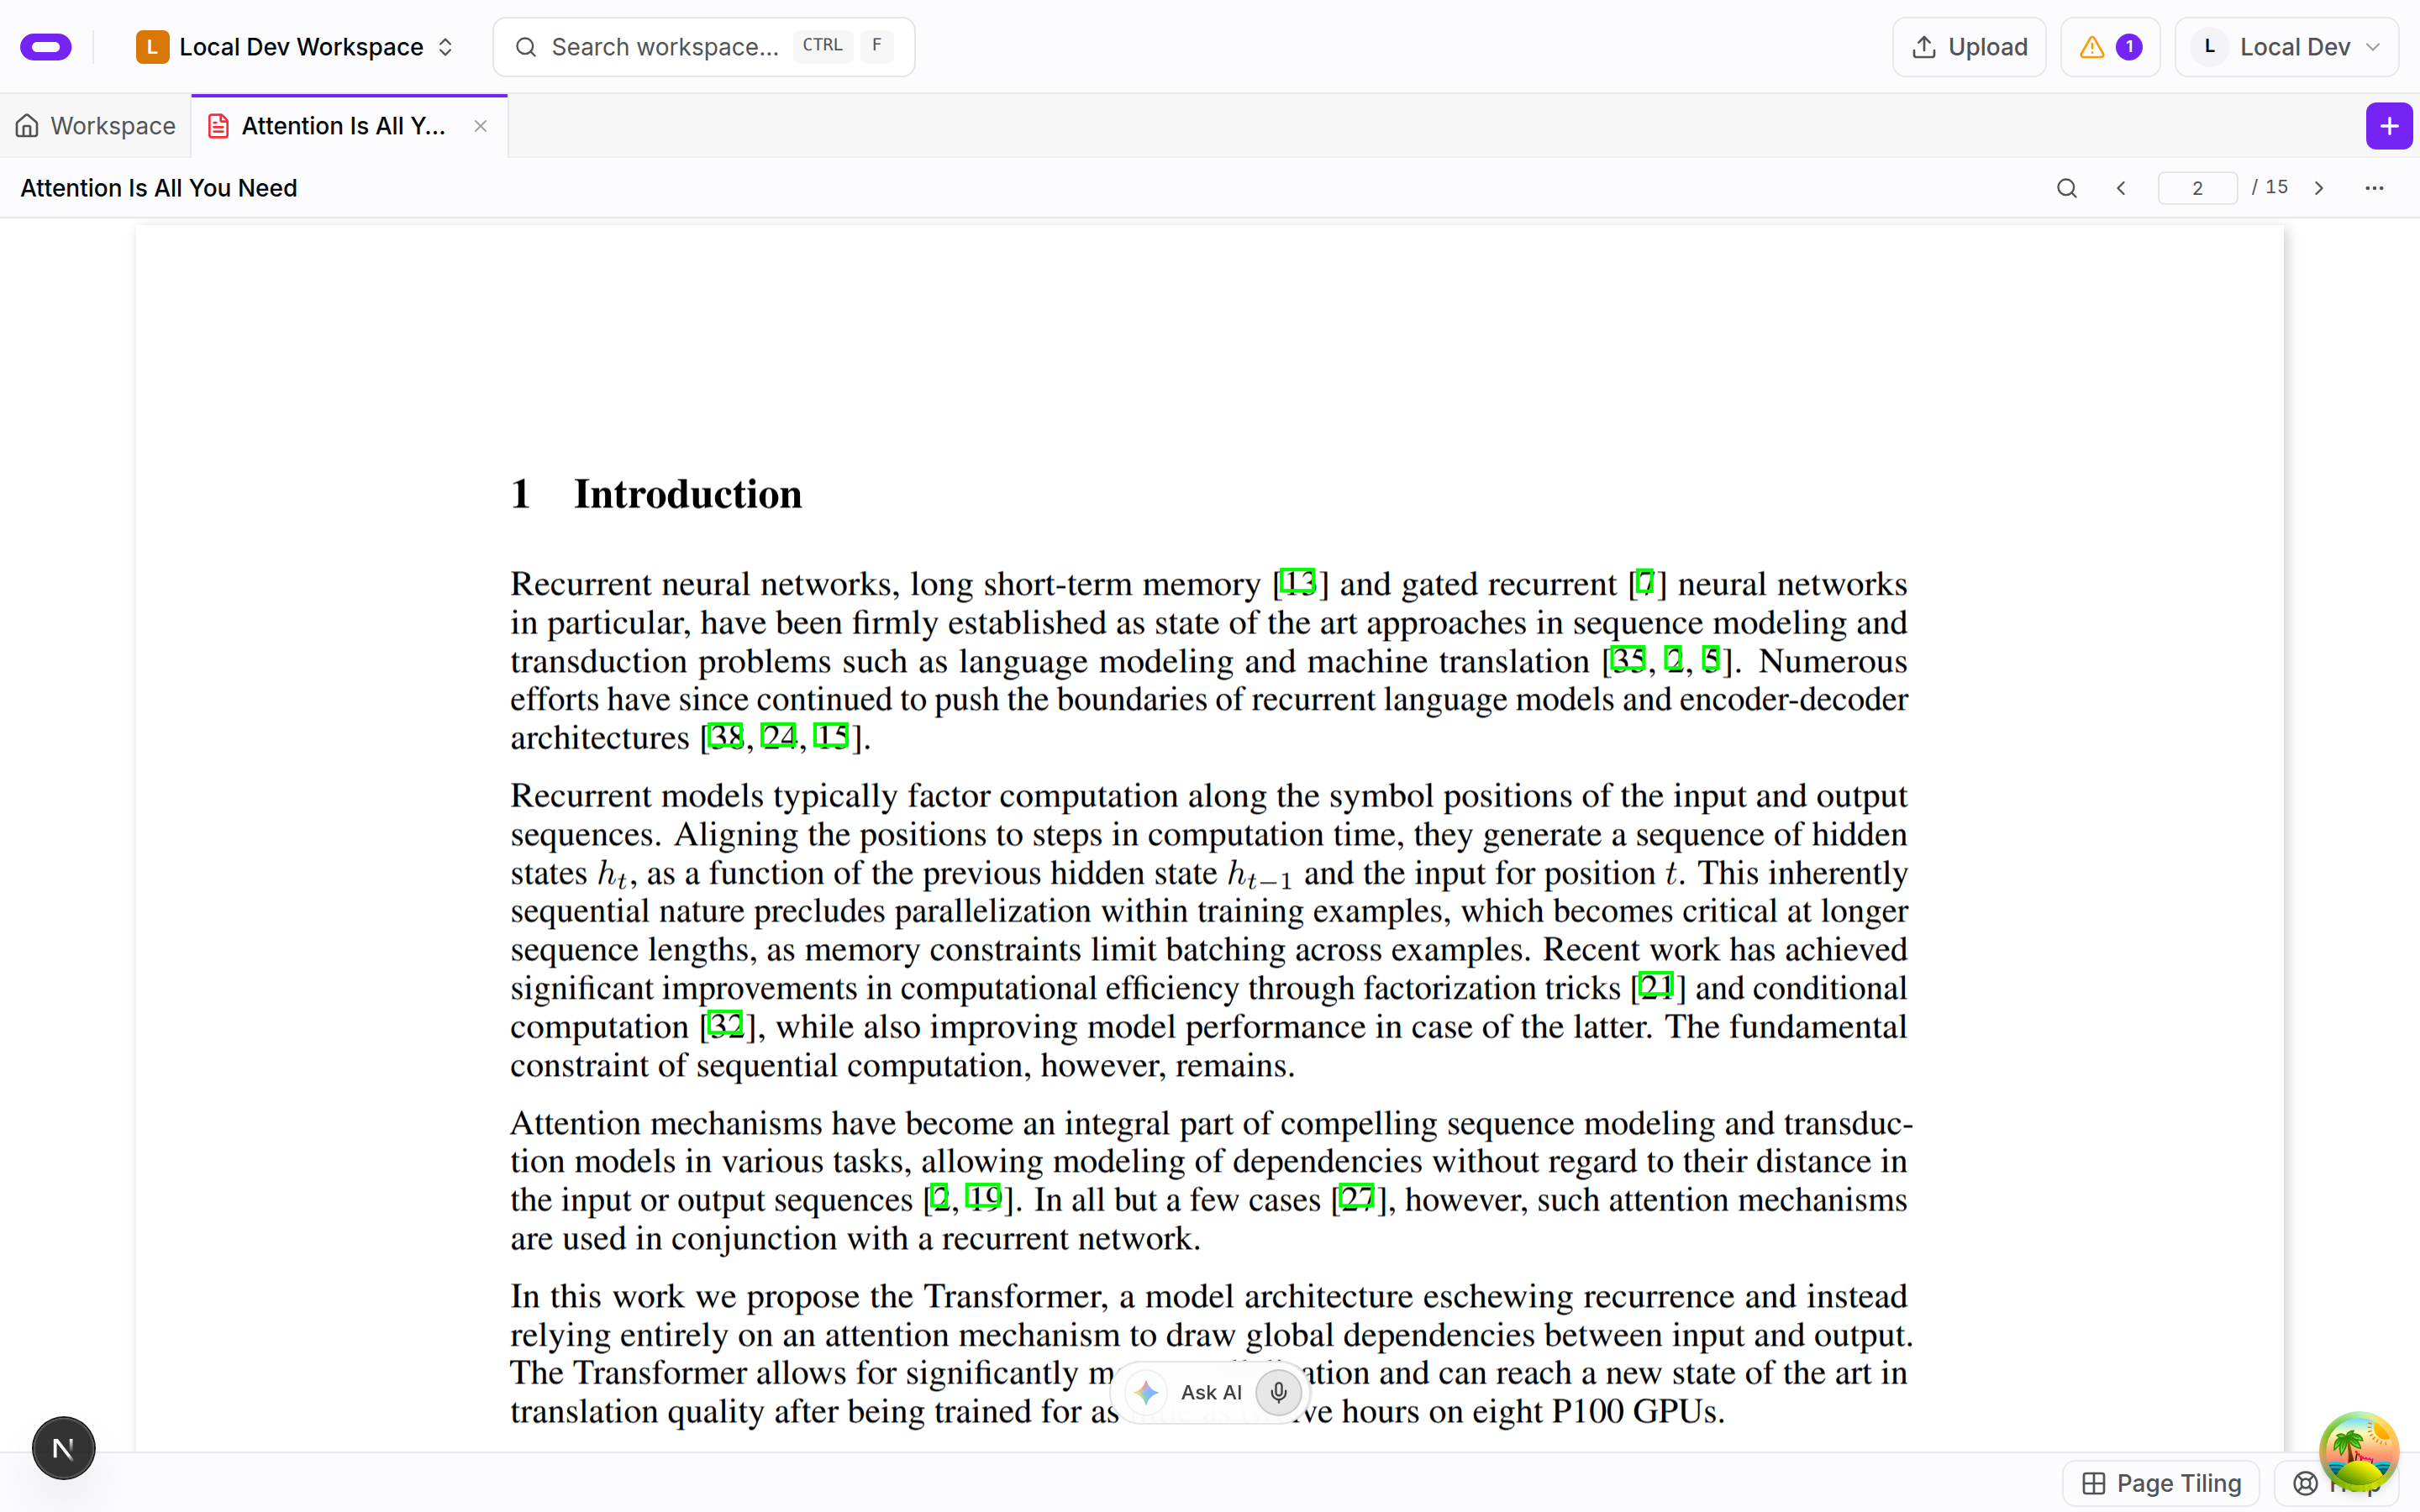
This is the seeded text-based PDF in the viewer. It has not been OCR-scanned.
2. Convert the pages you need
Open the PDF file's menu and choose Convert to note (OCR). In the confirmation dialog, select the pages you need and read the credit estimate. Confirm with Convert to note only if the selection and cost are right. If the balance is insufficient, resolve that before proceeding.
No screenshot for this step yet.
This step uses OCR credits even on Free. For a scanned source, follow the more detailed scanned PDF walkthrough.
3. Review the note and write your next question
Wait for conversion to complete, then open the resulting note. Compare the material you intend to use with the PDF. Correct errors and add one question in your own words, such as “Which assumption should I check before using this method?” Keep the source filename and page number with that question.
No screenshot for this step yet.
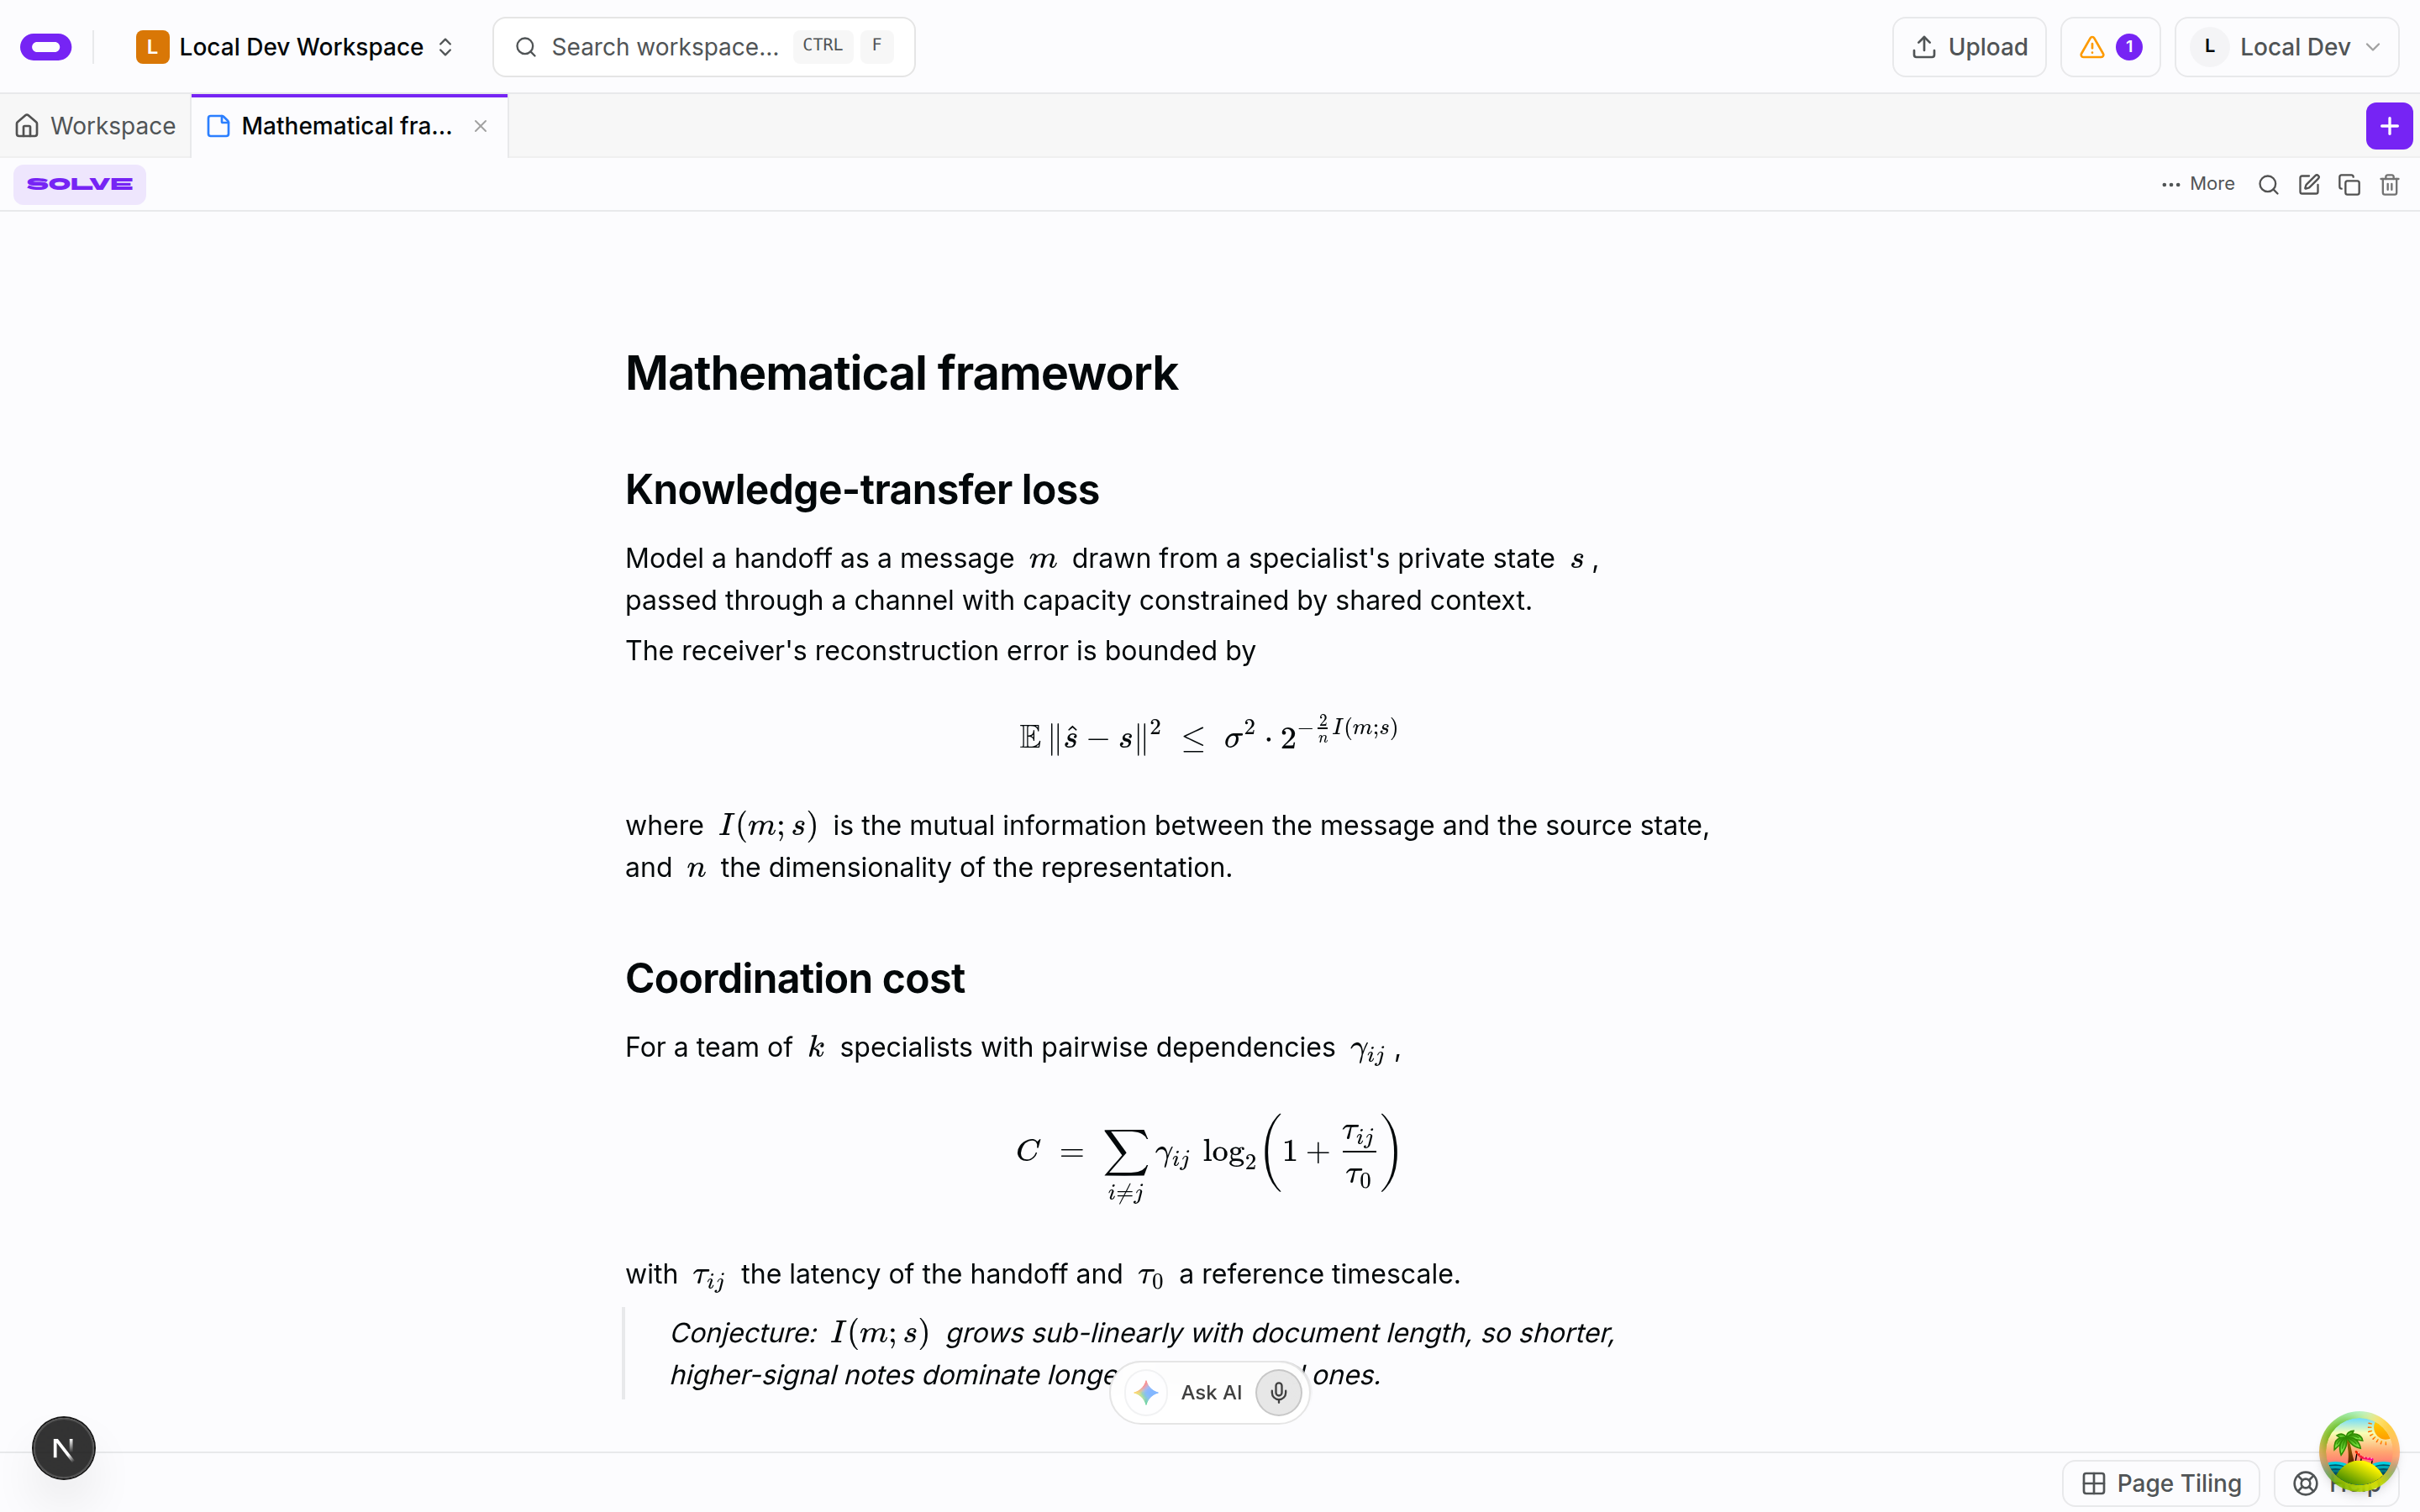
This shows the note view with rendered equations. It is a separately seeded note, not the output of the conversion above. No completed OCR result is shown.
4. Put the next action on your board
If you do not have a board yet, open the workspace task-creation dialog. Enter a Task title, choose New board… under Project board, enter a New board name, and select Create task. This creates the first task with its board.
No screenshot for this step yet.
If you already have a board, open it in the same workspace. In the column where you keep planned work, select Add a card. Use a concrete title, for example “Check the assumptions on page 2”. Open the card and write the question, the note's name and the PDF page reference in its description. These references let you return to the source without guessing which document you meant.
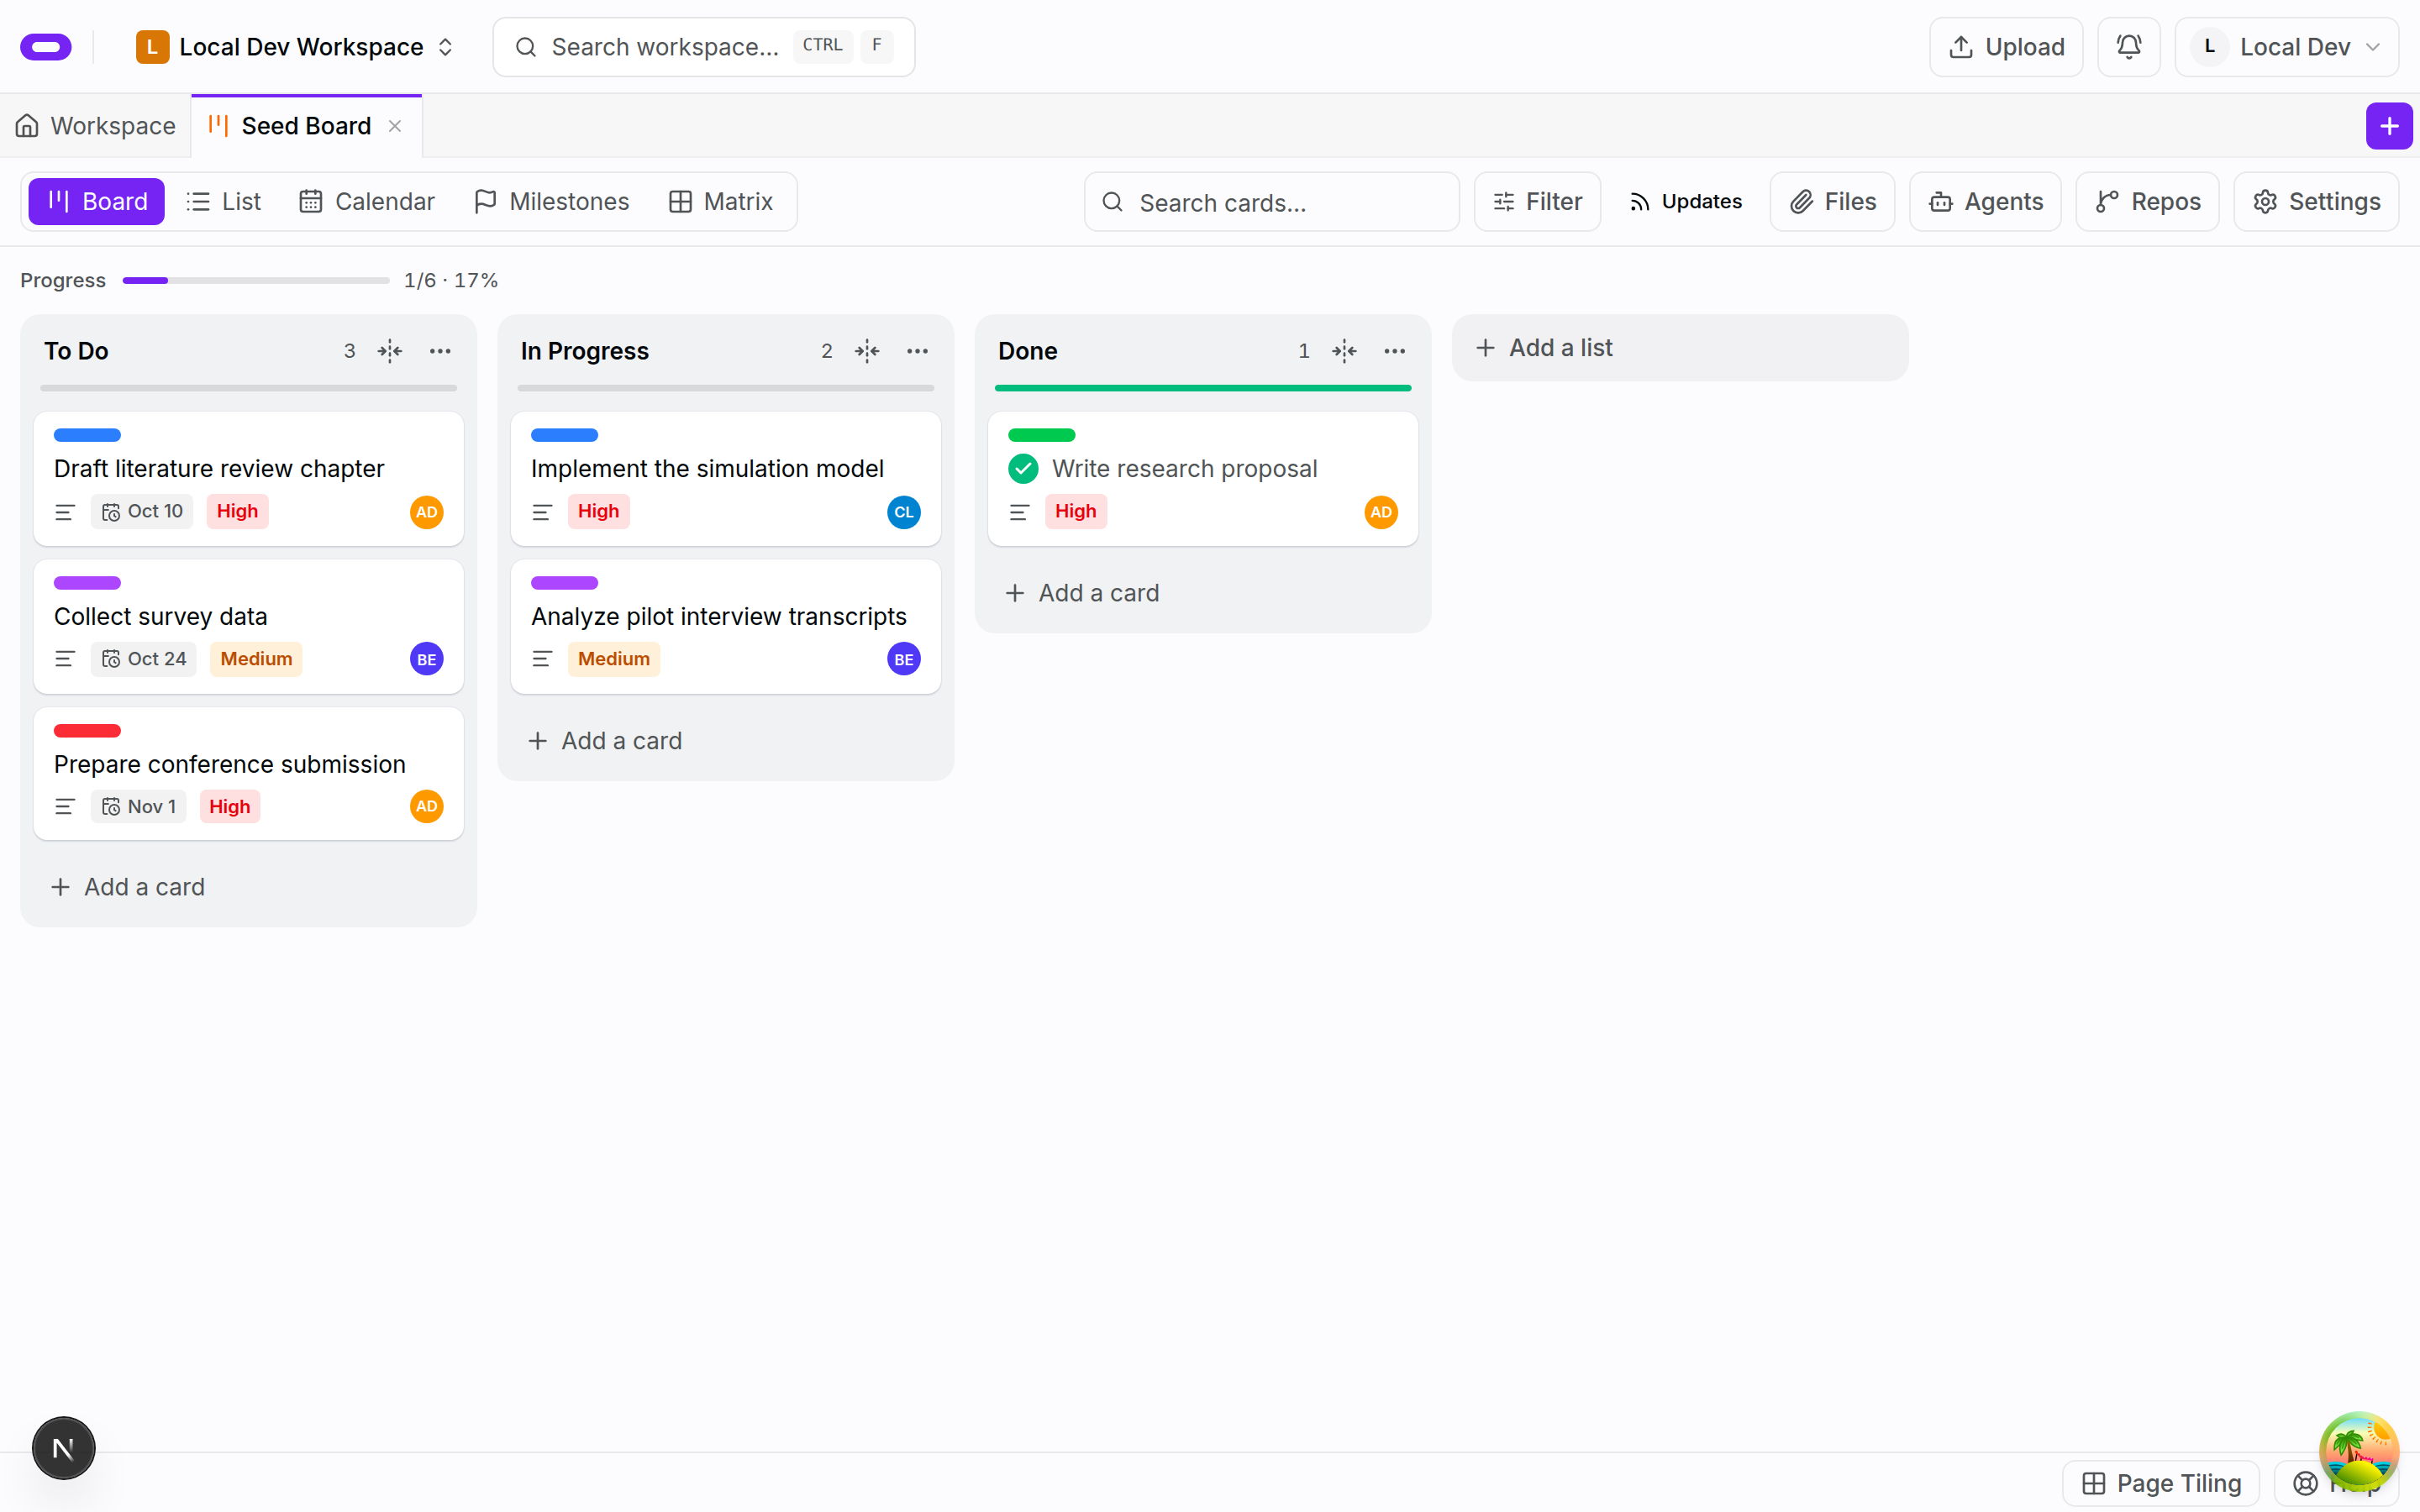
The controls are visible on this sample board. No screenshot for this step yet: creating your card and filling its description.
5. Check your first outcome
Return to the file list and reopen the note. Check that your edit is there. Reopen the board card and confirm that its description identifies the note and source page. You are finished when the source PDF, reviewed note and next action are all available in the same workspace.
No screenshot for this step yet.
Explore PDF and Markdown notes, the shared board, or give an agent a bounded task.